Category Archives: Recipes

Beef Jerky

For the past few months I have been watching my sugar intake and I noticed that all of the commercially available beef jerky packages that I find list sugar in some form as an ingredient. I am not sure why it is that everyone adds sugar to their jerky (I see it in most jerky recipes as well) but I dislike the sweet flavor. Here is my version without sugar or sweeteners. The look and color will vary depending on what meat you use, how thick you cut it, and how long you marinate it and dry it. Hope you like it.

Ingredients

1.3 lbs beef, thinly sliced
1/3 cup tamari (soy sauce)
1 clove garlic, minced
1 tsp Worcestershire
1 tsp liquid smoke
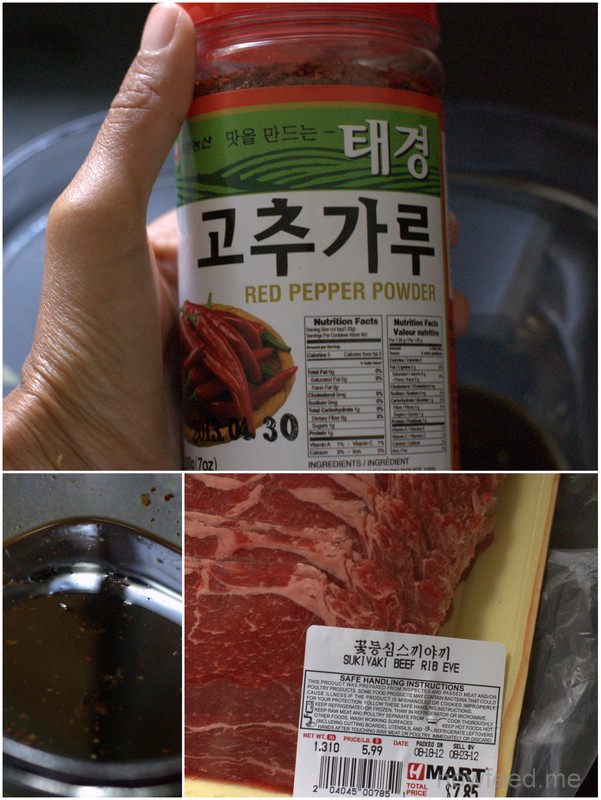
1/2 tsp korean red pepper or cayenne (or to taste)
1 gallon ziploc bag

Preparation and Cooking

Slice the beef into slices just under 1/4 inch thick. Partially freezing the beef will make it easier to slice into even slices. In a ziploc bag, pour in the soy sauce and remaining ingredients except the beef. Seal the bag and shake to mix all the ingredients together. Add the beef to the bag then seal the bag squeezing out most of the air. Gently massage the bag to get the marinade between all the slices and to cover all the beef. Refrigerate for 4 hours, or overnight if preparing the day before.

Food dehydrator method:
When ready to dehydrate, remove the meat from the bag and pat the slices dry with paper towel. Lay the slices on the racks of the food dehydrator taking care to make sure the meat is in single layers and not overlapping. Dry according to the directions included with the dehydrator, usually between 12 to 20 hours. The temperature, air circulation, and thickness of the meat will determine how long the drying process takes.

Oven method:

If using the oven lay the slices on a baking rack over a baking sheet to catch any drippings. Set the oven to about 140 degrees fahrenheit – or the lowest setting if it doesn’t go that low, place the baking sheet in the oven, and leave the door cracked open. Dry for about 6-8 hours.

Notes:

  • To simplify this recipe you can leave out the Worcestershire sauce and the liquid smoke, and even the cayenne if you do not like spicy foods.
  • You can use regular soy sauce if wheat and organic are not a concern to you, though I used organic gluten-free tamari.
  • Other drying methods which I have not tried but have seen or read about are using a smoker – in which case you definitely would leave out the liquid smoke, and a dry box, where you dry in full sun. I would definitely try the dry box method if we had enough sun and heat where we live, but unfortunately that is not possible.


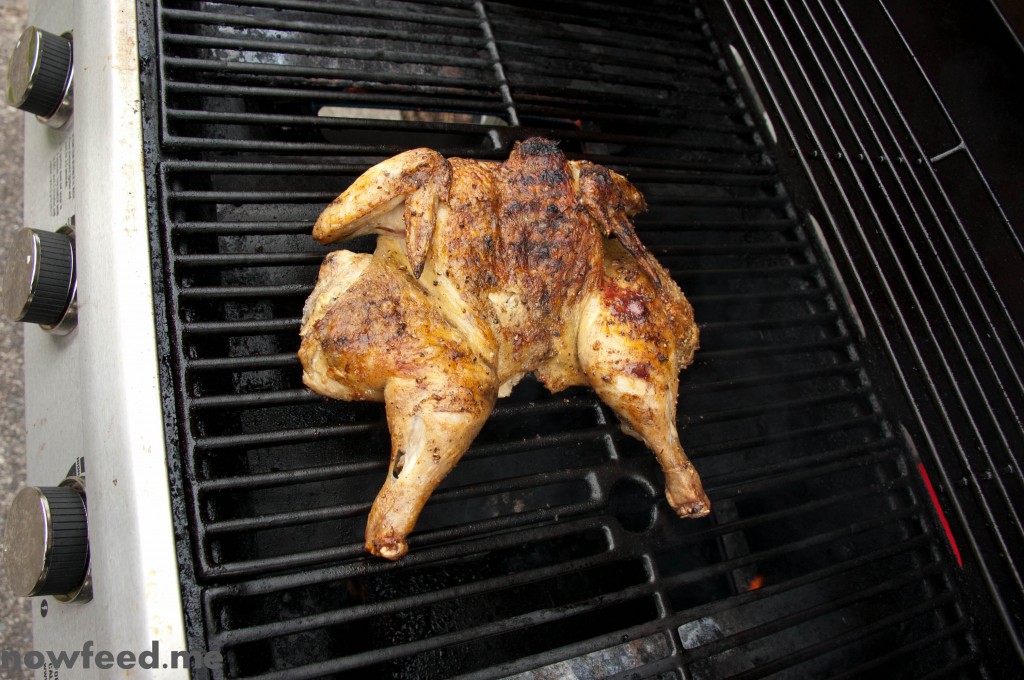
Grilled butterflied chicken


Butterflied Grilled Chicken

Butterflied Grilled Chicken

Ingredients

1 whole chicken
1 clove garlic, minced (or to taste)
1/2 – 3/4 stick unsalted butter, a little soft but not melted – workable
salt, to taste
pepper, to taste
1/2 tsp thyme
1/2 tsp oregano
1/2 tsp rosemary
1/2 tsp paprika
pinch of cayenne

Preparation and Cooking

First prepare the butter by putting it in a bowl with the garlic and spices. Using a fork mash it all together to mix everything together. Set aside.

Put the chicken on the cutting board with the breast facing down and, using kitchen shears, cut off the spine. Turn the chicken over and press it down to flatten it out. With your fingers gently separate the skin from the meat wherever you can: the breast, the thighs, the legs being careful not to break the skin. If you do it’s no big deal but more butter will run out instead of staying close to the meat. Spread the butter underneath the skin leaving an even layer of butter everywhere. Smear any remaining butter – there should not be much – over the skin. Sprinkle the skin with a couple of pinches of salt, cracked black pepper, paprika, and a pinch of cayenne.

Preheat the grill then place the chicken on skin side down. Cook for about 20 minutes, spraying down any flare ups if there are any. After 20 minutes flip the chicken over and grill for another 20 minutes or so. I use a chicken that its about 3 to 3.5 pounds. Larger birds will require a longer cooking time, as will one which was not near room temperature when you started.

Sorry there aren’t more pictures on this one. This is the only one that came out.

Note:

Feel free to experiment with other spices. Pretty much anything you would use for a roast chicken will work, taking into account what might burn over an open flame. It’s mostly under the skin mixed into the butter so that shouldn’t be much of a problem. Another idea which I tried in the oven and that I will try on the grill is a curry chicken for example.

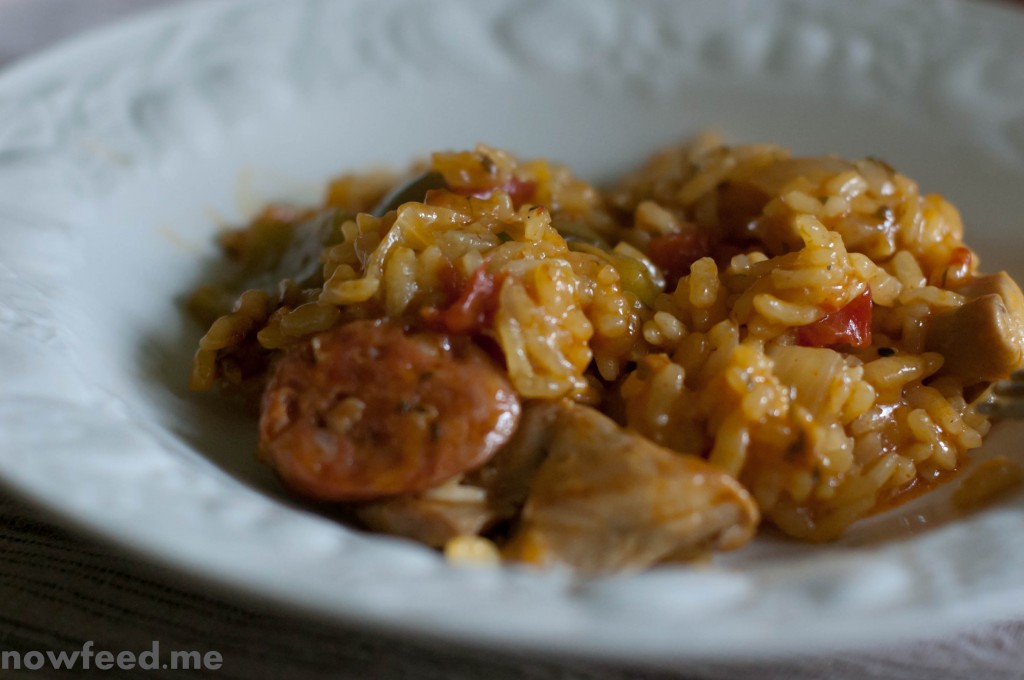
No Seafood Paella

No Seafood Paella

No Seafood Paella

A few weeks ago I felt like making a paella, but one without seafood. I eat seafood but do not generally go for fishy soups and stews. Remembering a sort of paella that I had at a Portuguese restaurant about 15 years ago I set out to make a no seafood paella, with chicken and sausage instead. It took a bit longer to make than I had anticipated as the rice took a while to soak up the liquids, but the result was delicious. This seems to be a one dish meal. No sides are needed, nor can I think of a side that would go well with it, save perhaps a simple salad.

Ingredients
Served 5 people, with leftovers

4-5 Boneless, skinless chicken thighs, roughly cut
1 Portuguese sausage, sliced 1/4 inch thick
1-2 Green bell pepper, chopped
1 Onion, chopped
5 cloves garlic, minced
1/2 cup chopped parsley, chopped
2 1/2 cups arborio rice
6 cups chicken stock
1 Tbsp sweet paprika
1 15 oz can whole tomatoes
1 pinch saffron threads
Olive oil

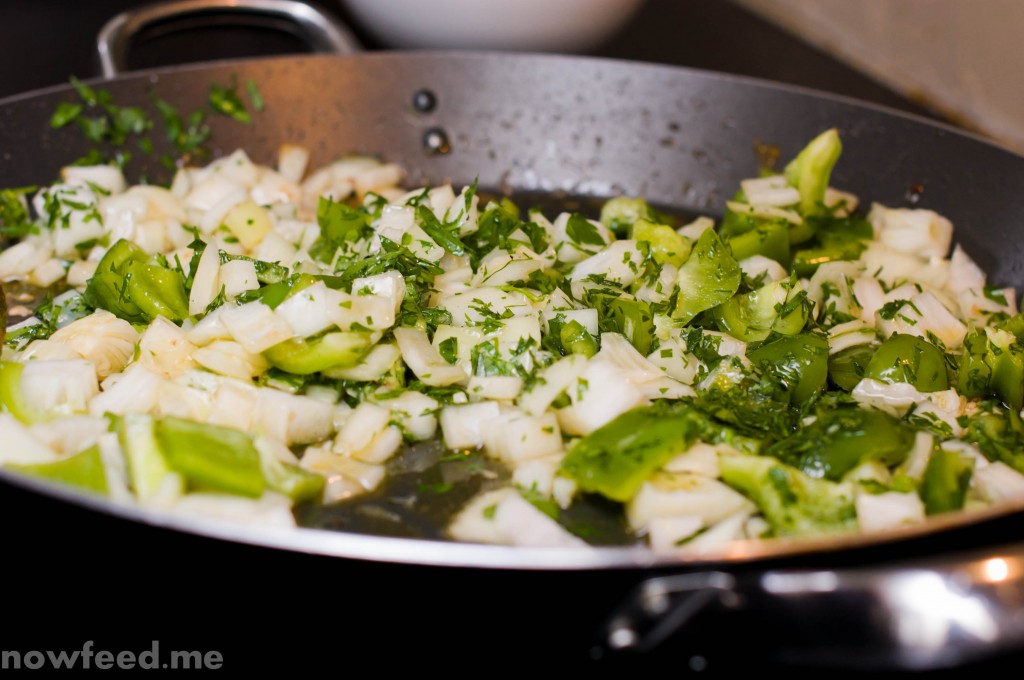
Wetting the base

Wetting the base

Preparation and Cooking

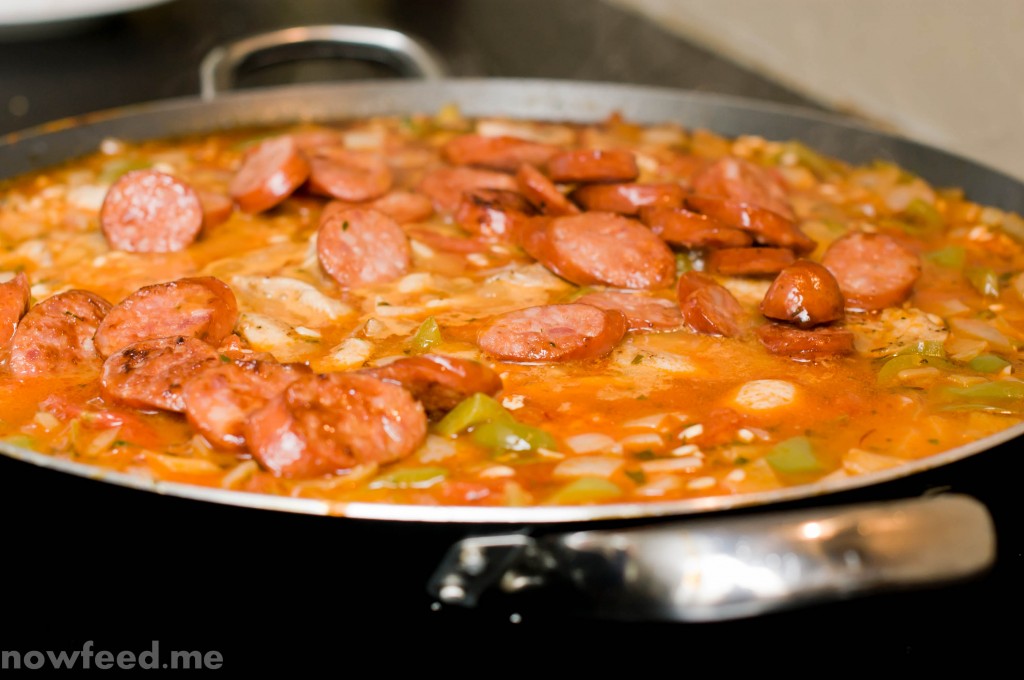
Preheat a wide paella pan (or widest frying pan you have) on medium-high. Add oil to pan and brown the Portuguese sausage on both sides. Remove from pan and set aside. Brown the chicken on both sides. Remove from pan and set aside. Turn the heat own to medium. Add onions, bell pepper, garlic, and parsley to pan. Add tomatoes, crushing them as you put them in the pan, and pour in the juices.

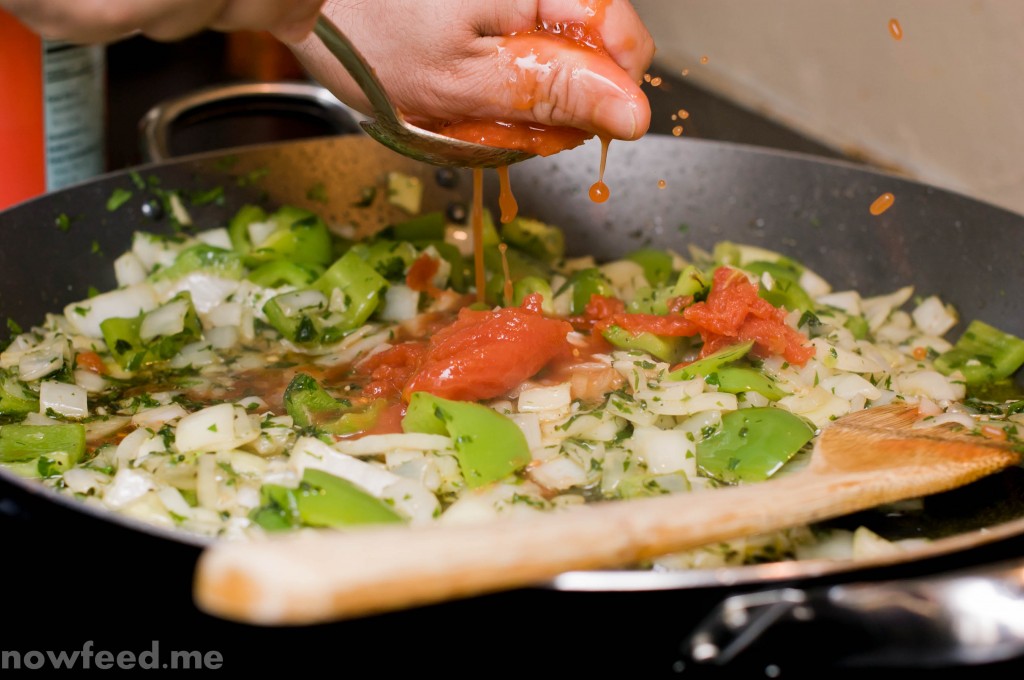
Making the base

Making the base

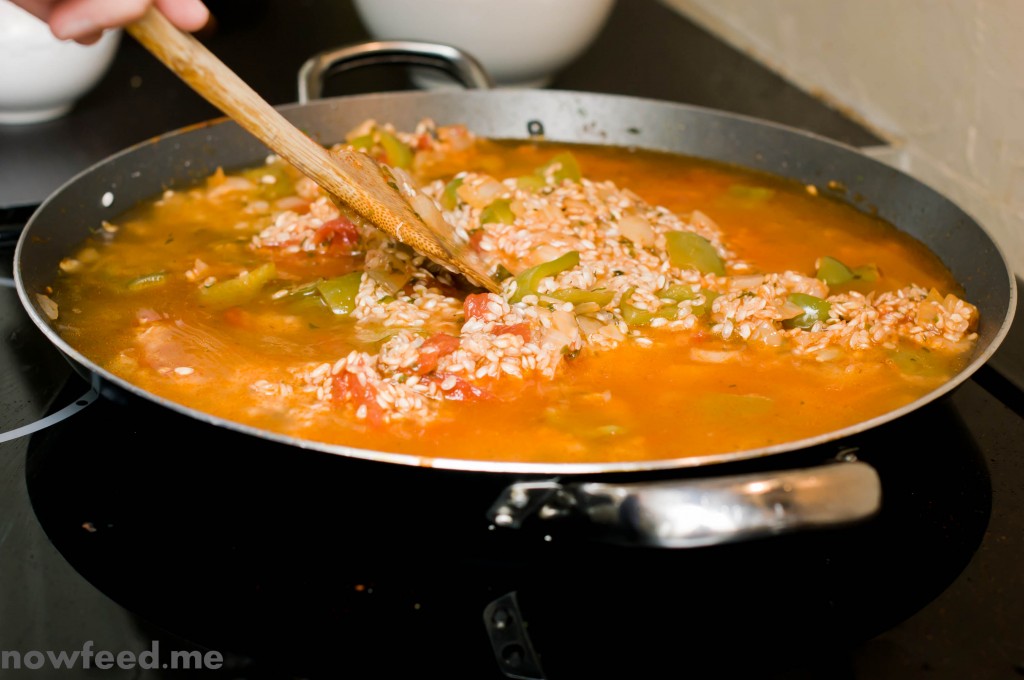
Add saffron and paprika. Stir and simmer for about 5 minutes. Add rice and stir it in well to coat the grains, about 3 minutes. Add 4 cups chicken stock. Simmer, occasionally stirring lightly for the first 10 minutes or so. Add chicken stock as the water is absorbed by the rice. When the liquid is nearly all absorbed taste the rice to see if it is done.  It should preferably be al dente at this point as the rice will cook a little longer.

Return the chicken and sausage to the pan and tuck it into the rice, being careful to keep the rice submerged under any stock in the pan. When the rice is ready and all the liquid has been absorbed add the remaining parsley and stir in lightly. Turn off the heat and serve at the table.

Soaking up the liquid

Soaking up the liquid

 Notes

If you like seafood and want to add some to this dish there are a couple of changes you can make:

– Use fish stock instead on chicken stock.
– Add a couple of 1/2″ to 1″ thick pieces of your preferred fish to the pan and tuck into the rice while you are soaking up the broth, about 20 minutes before done.
– Add some shrimp over the dish.
– In any case you might find it helpful to cover the pan for 5-10 minutes with a lid or foil to allow the added seafood to steam cook.