Tag Archives: beef

Beef Jerky

For the past few months I have been watching my sugar intake and I noticed that all of the commercially available beef jerky packages that I find list sugar in some form as an ingredient. I am not sure why it is that everyone adds sugar to their jerky (I see it in most jerky recipes as well) but I dislike the sweet flavor. Here is my version without sugar or sweeteners. The look and color will vary depending on what meat you use, how thick you cut it, and how long you marinate it and dry it. Hope you like it.

Ingredients

1.3 lbs beef, thinly sliced
1/3 cup tamari (soy sauce)
1 clove garlic, minced
1 tsp Worcestershire
1 tsp liquid smoke
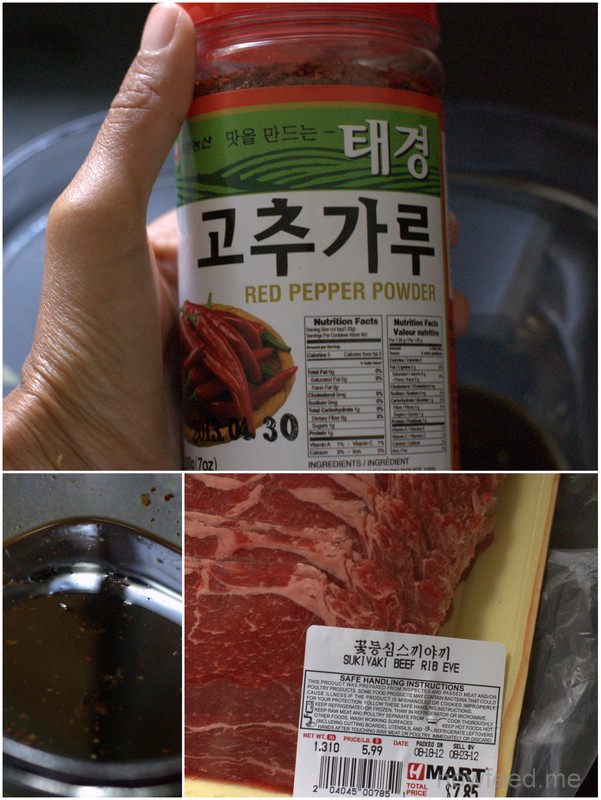
1/2 tsp korean red pepper or cayenne (or to taste)
1 gallon ziploc bag

Preparation and Cooking

Slice the beef into slices just under 1/4 inch thick. Partially freezing the beef will make it easier to slice into even slices. In a ziploc bag, pour in the soy sauce and remaining ingredients except the beef. Seal the bag and shake to mix all the ingredients together. Add the beef to the bag then seal the bag squeezing out most of the air. Gently massage the bag to get the marinade between all the slices and to cover all the beef. Refrigerate for 4 hours, or overnight if preparing the day before.

Food dehydrator method:
When ready to dehydrate, remove the meat from the bag and pat the slices dry with paper towel. Lay the slices on the racks of the food dehydrator taking care to make sure the meat is in single layers and not overlapping. Dry according to the directions included with the dehydrator, usually between 12 to 20 hours. The temperature, air circulation, and thickness of the meat will determine how long the drying process takes.

Oven method:

If using the oven lay the slices on a baking rack over a baking sheet to catch any drippings. Set the oven to about 140 degrees fahrenheit – or the lowest setting if it doesn’t go that low, place the baking sheet in the oven, and leave the door cracked open. Dry for about 6-8 hours.

Notes:

  • To simplify this recipe you can leave out the Worcestershire sauce and the liquid smoke, and even the cayenne if you do not like spicy foods.
  • You can use regular soy sauce if wheat and organic are not a concern to you, though I used organic gluten-free tamari.
  • Other drying methods which I have not tried but have seen or read about are using a smoker – in which case you definitely would leave out the liquid smoke, and a dry box, where you dry in full sun. I would definitely try the dry box method if we had enough sun and heat where we live, but unfortunately that is not possible.


Fettine alla Pizzaiola

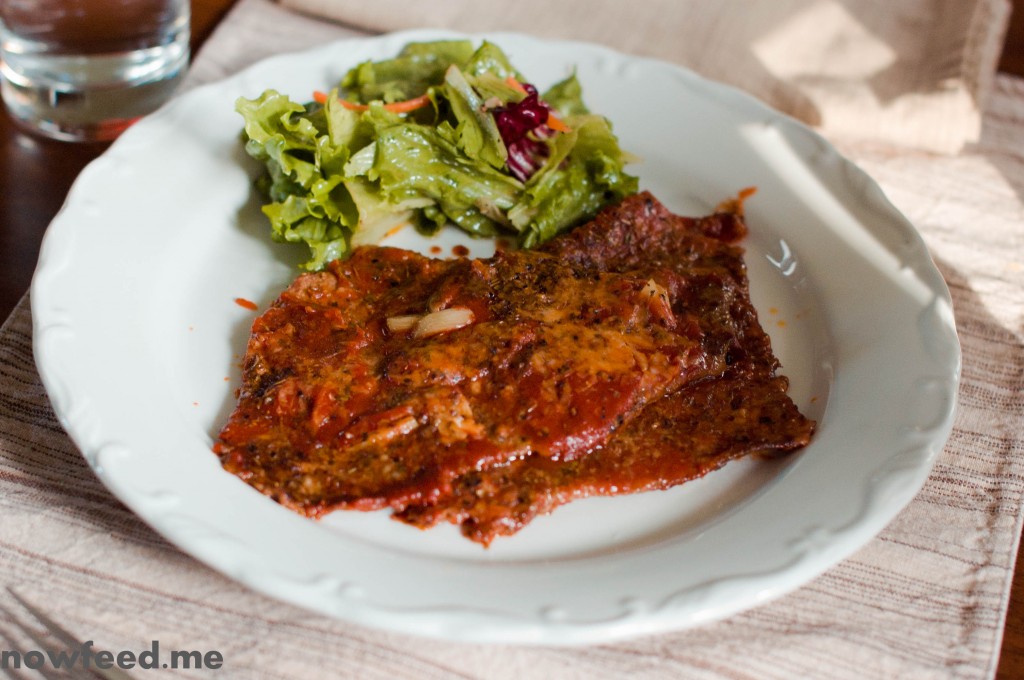
Growing up there were a few favorite meals which I always looked forward to. Granted I do not remember being the foodie that I am today – at least I don’t think I was – but this meal always generated excitement when I saw it at the dinner table. These days it is a favorite in our house. My mom would use a couple of cloves of garlic but I use as many as eight to ten cloves depending on the size of the cloves and how much meat I have. We are not shy with garlic in our household. I am unsure of the origin of this dish, but given the Sicilian heritage on one side of the family I always assumed that this is a Sicilian dish.

Beef alla Pizzaiola

Beef alla Pizzaiola


Ingredients
Serves two parents and two young ones

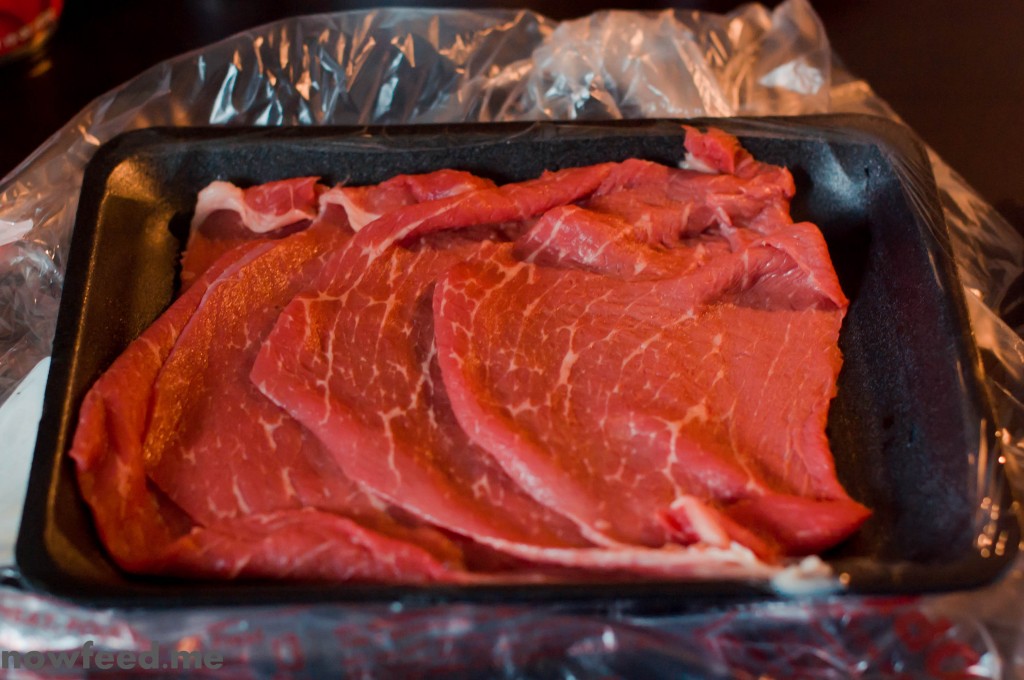
1 1/2 lb beef, thinly sliced – I use top sirloin
1 28 oz can tomato sauce
2 tsp dried oregano
6-8 cloves garlic, sliced
Olive oil, for frying
3-4 Tbsp Parmesan cheese, grated
Salt
Pepper

Thin sliced beef

Thin sliced beef

Preparation and Cooking

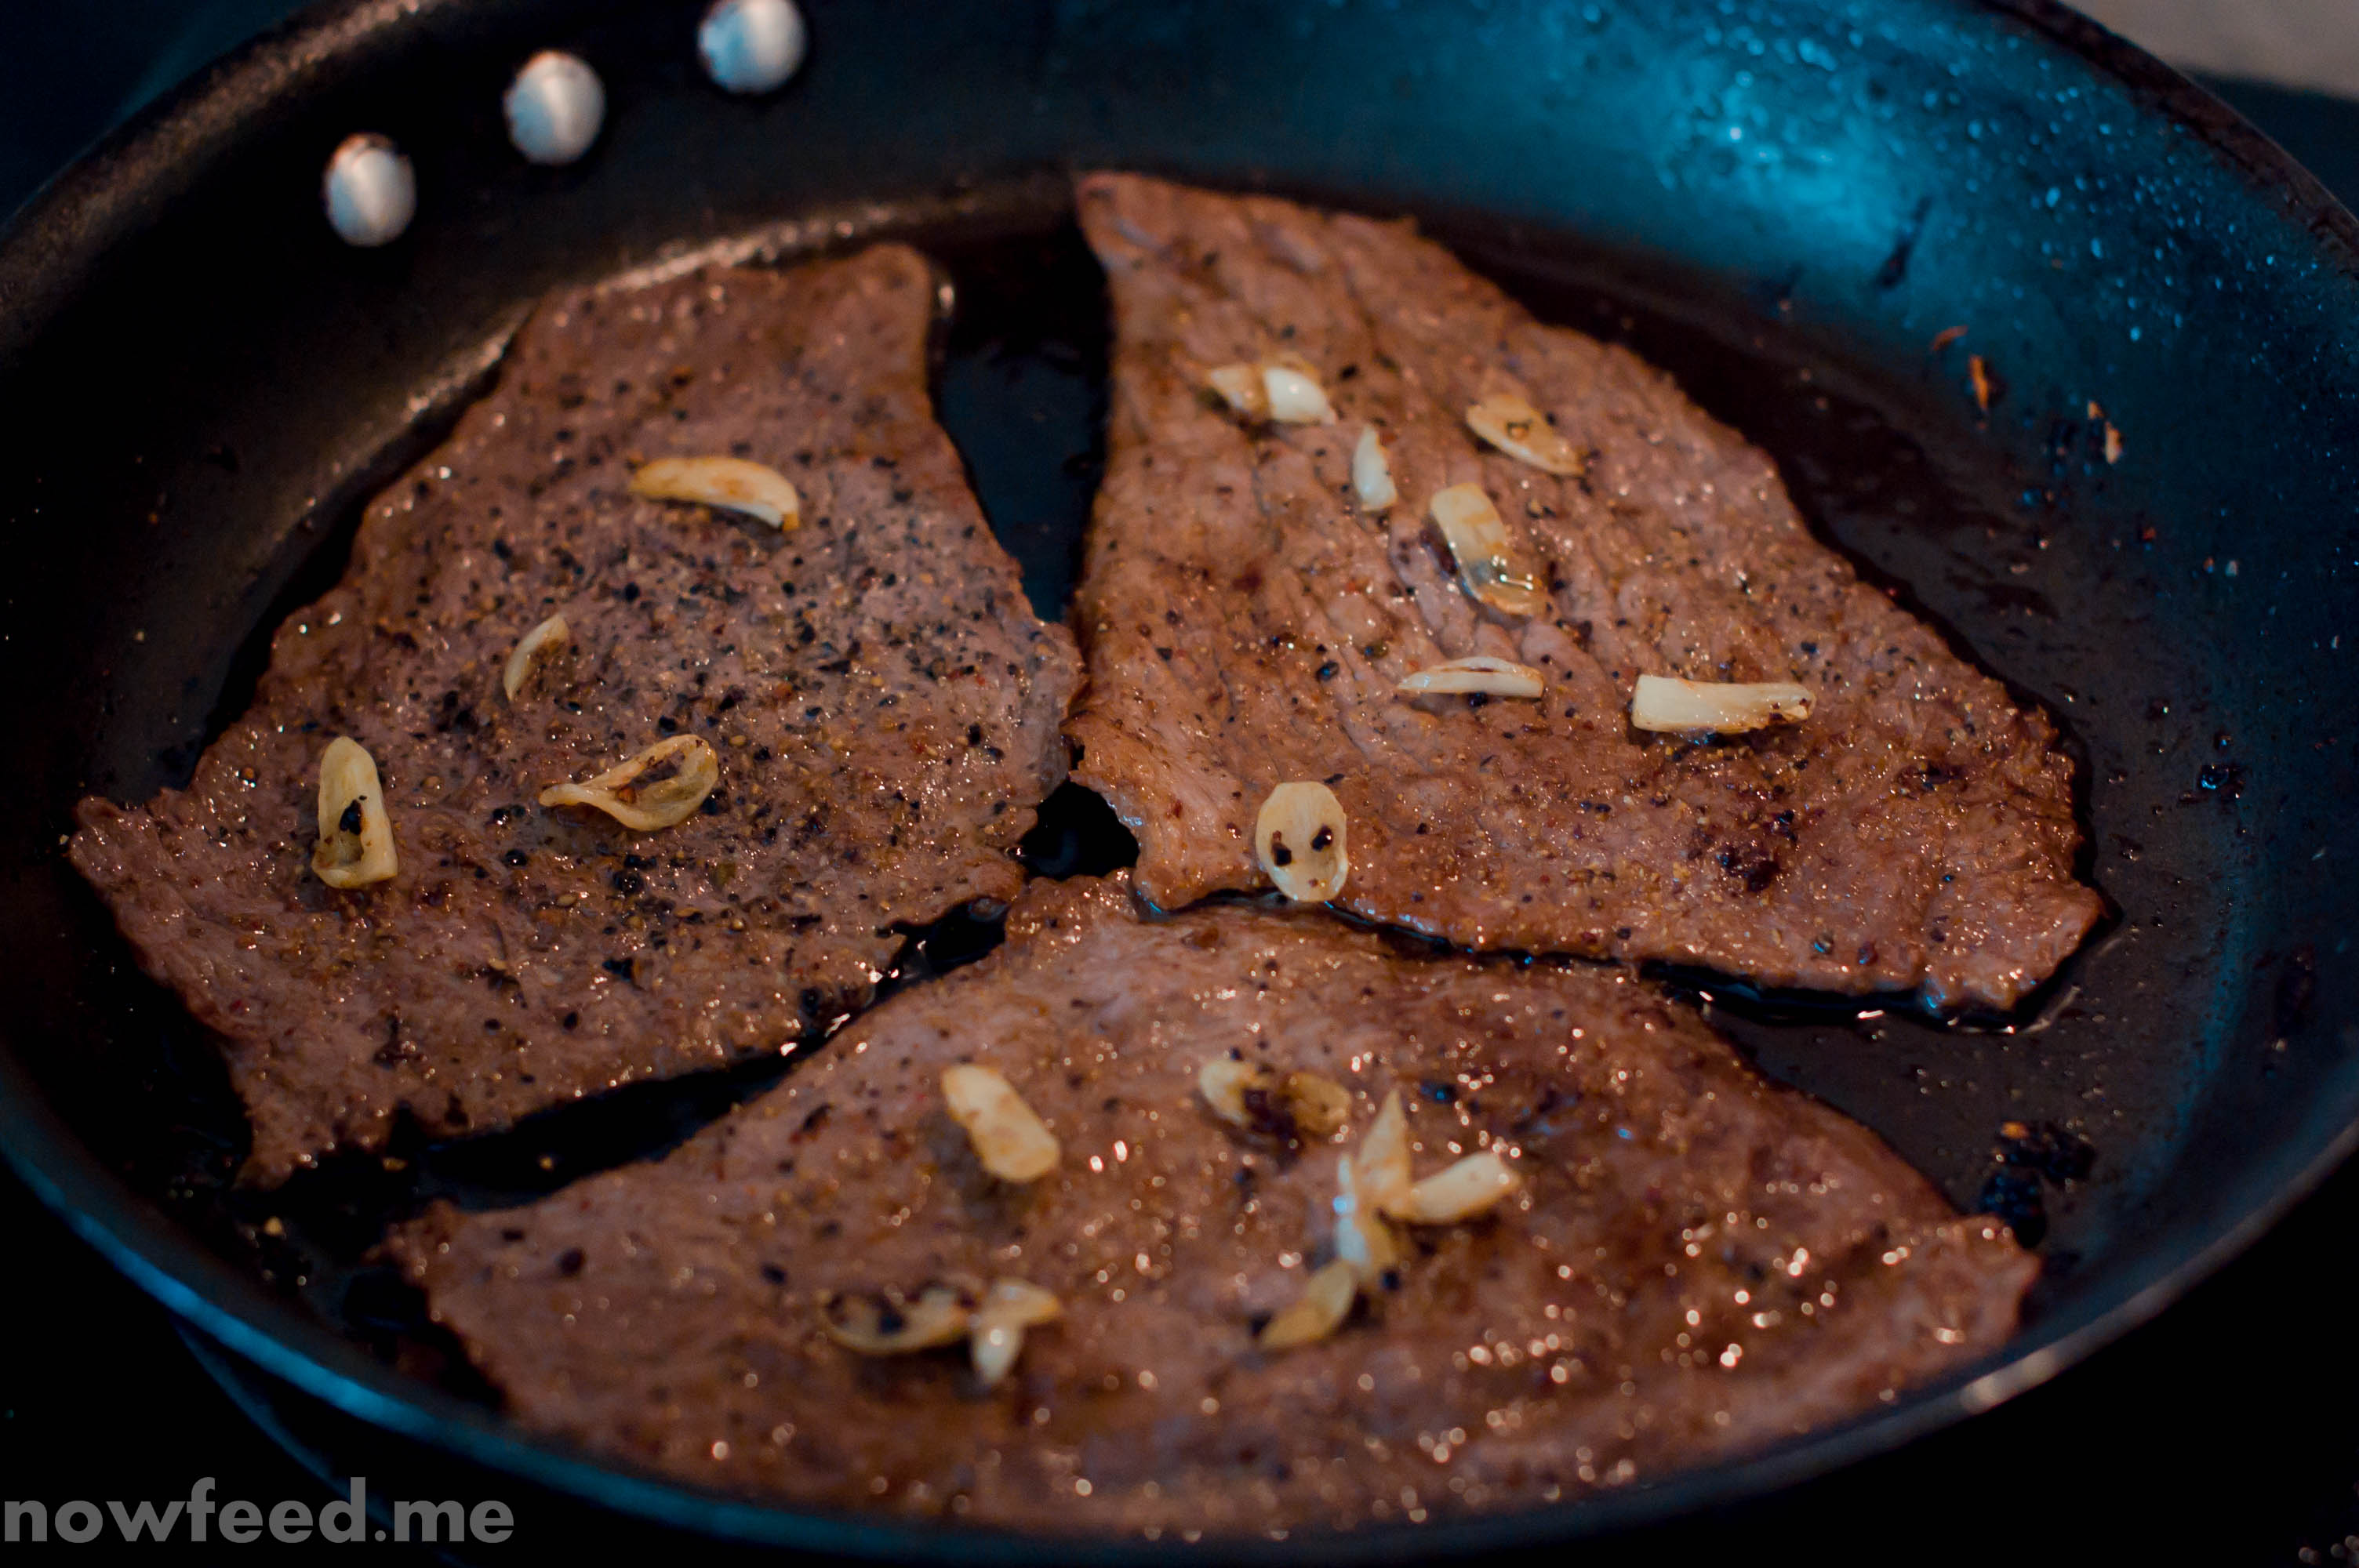
Place a little olive oil in a wide frying pan for which you have a lid and quickly brown the meat for a minute on each side, adding salt and pepper to taste. Fry one or two slices at a time and move them to a plate when done.
Turn the heat down a little, and sweat the garlic for a minute or two, adding a little olive oil to the pan if needed. Do not let the garlic brown, but remove it from the pan to a small bowl before then.

Brown all the beef, then layer the garlic on top

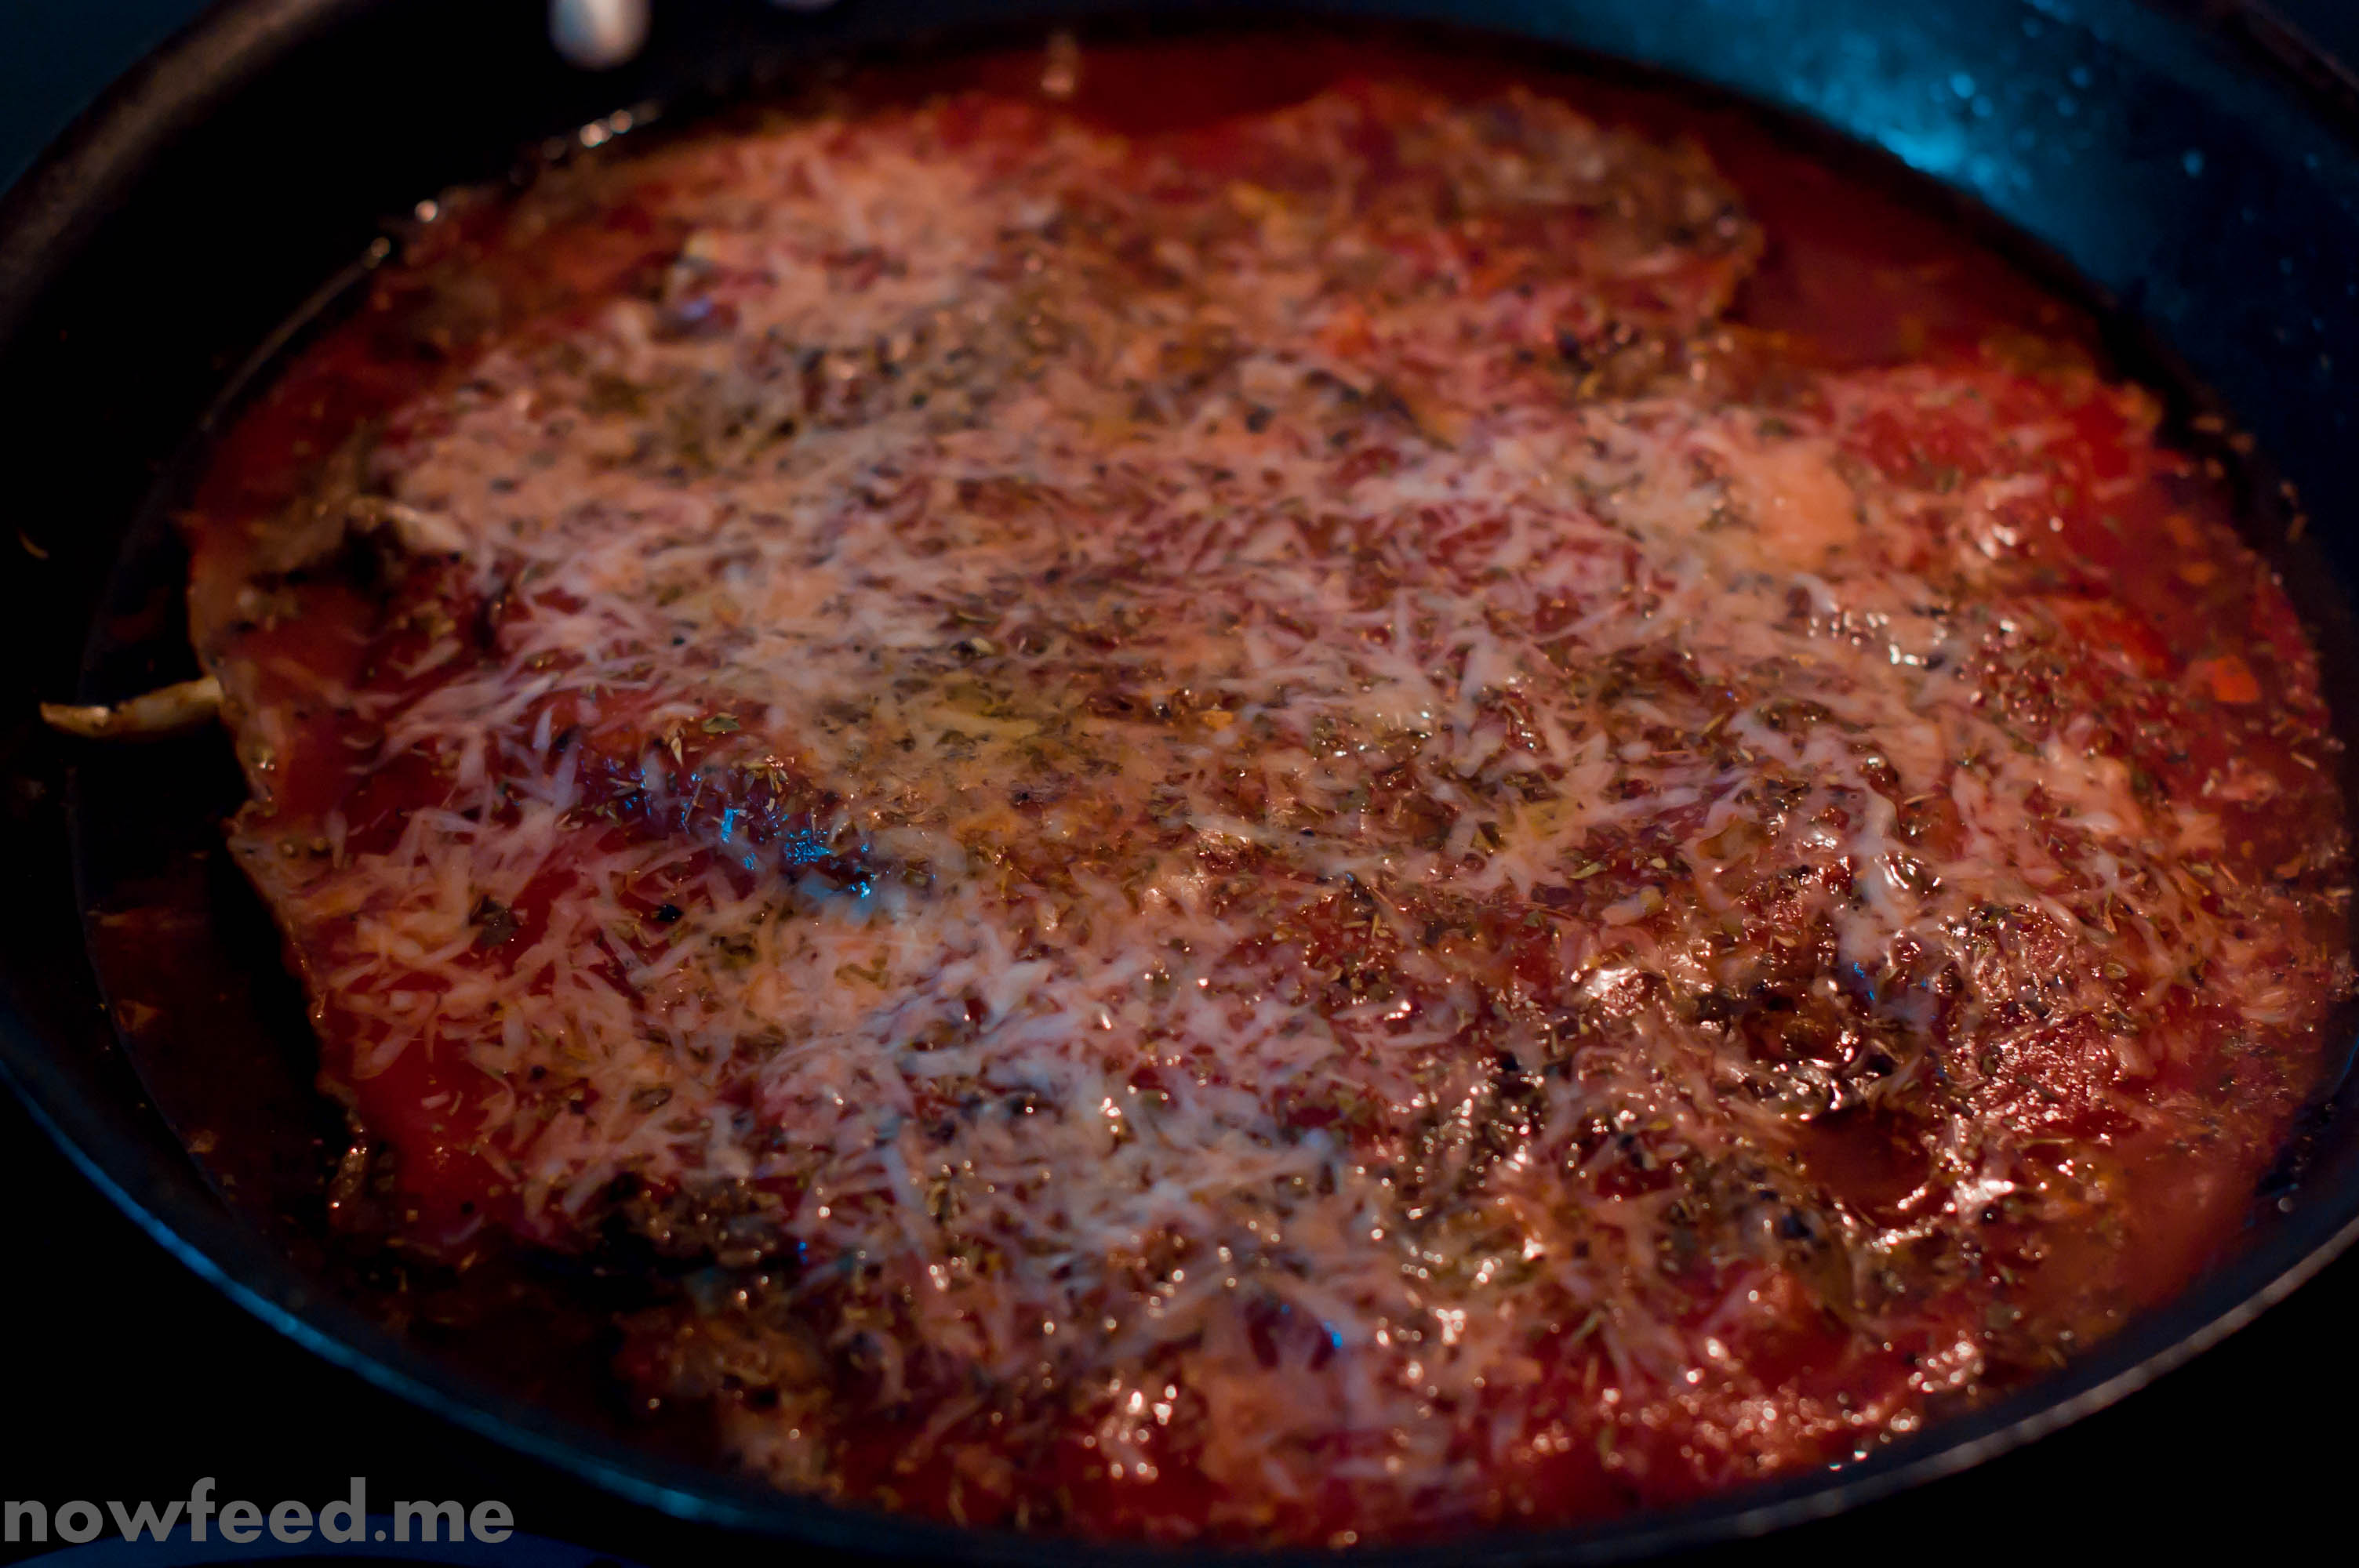
Now in layers, return the beef slices to the pan covering as much as possible, spread a few slices of garlic so that each slice of meat has a few, then spoon some tomato sauce over it all. Sprinkle some oregano, then repeat the layers until all the meat is back in the pan. When you get to the last layer (usually second or third), sprinkle some oregano and Parmesan cheese over the top. Bring to a simmer then partially cover and turn the heat down so that the tomato sauce simmers lightly.

The pizzaiola, simmering away
Cook for about 20 minutes. The sauce will darken a little, the cheese will melt, and the flavors will all mix together. Serve with a salad and a few slices of crusty bread. The tomato sauce should be a little thick, not watery.

Notes:

  • Minus the bread for serving this this is gluten free, a consideration in our household.
  • Increase the meat to two pounds for four adults (or older children).

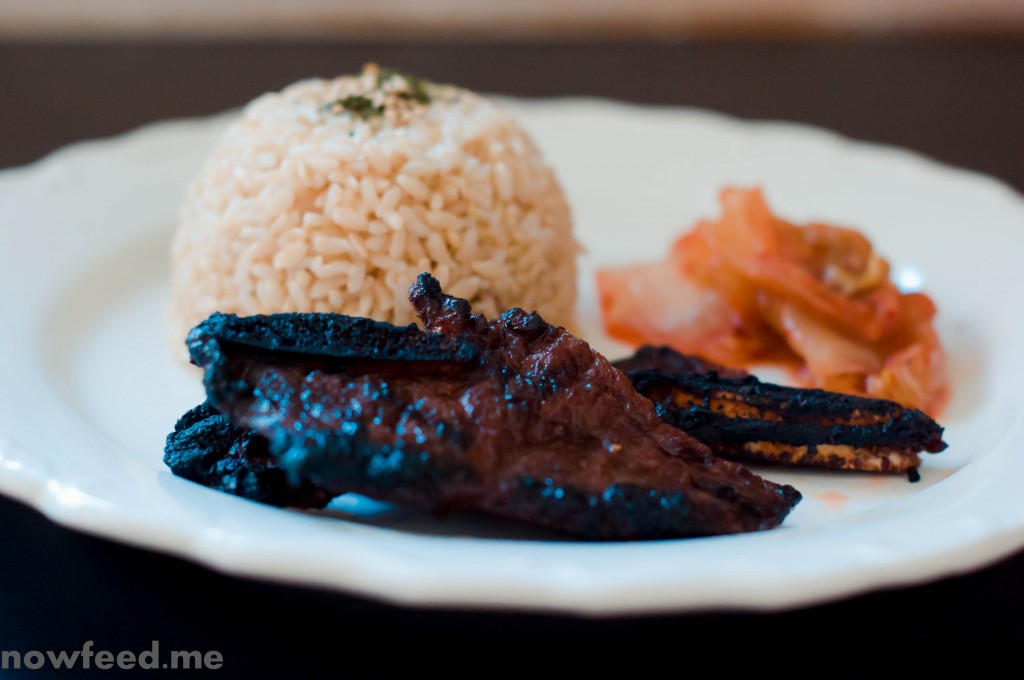
Korean style Kalbi short ribs

Kalbi

Kalbi

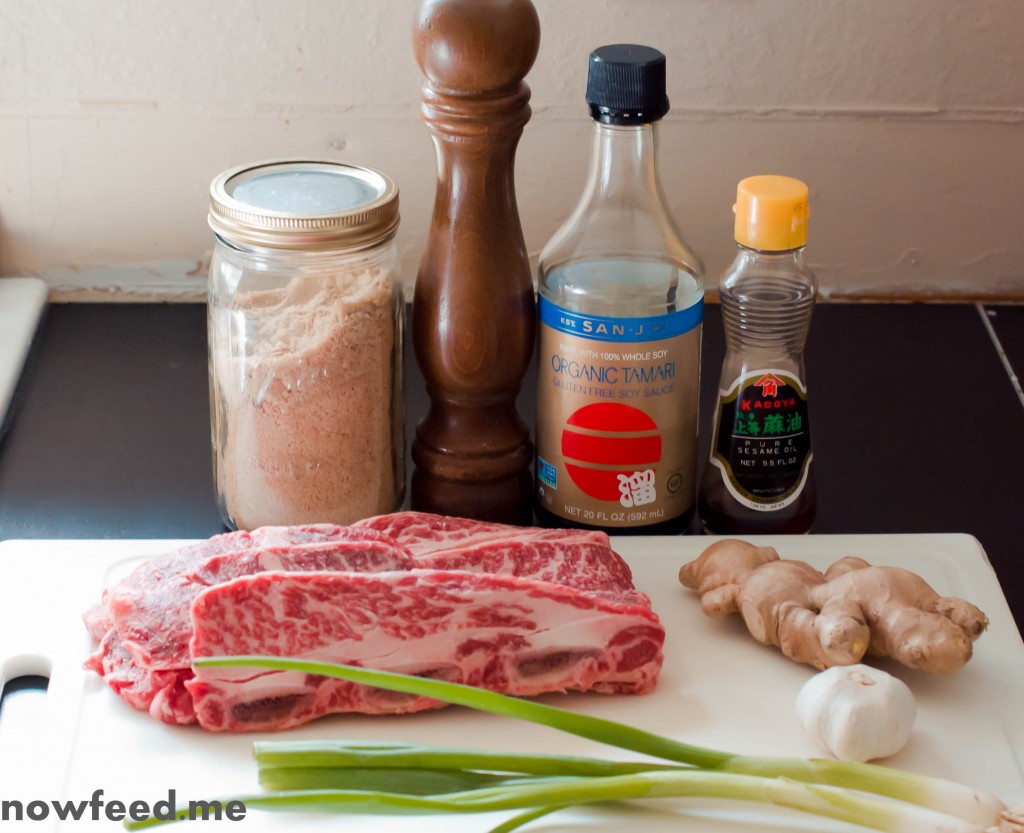
Ingredients

2-3 lbs beef short ribs
1 1/2 cup shoyu (gluten free versions are available if you need)
1 tbsp brown sugar (white sugar is fine but I like to use brown sugar)
1 inch ginger, minced or shredded
1 clove garlic, minced or crushed
2 stalks green onion, sliced thin
1 tsp sesame oil

Kalbi ingredients

Kalbi ingredients

Preparation

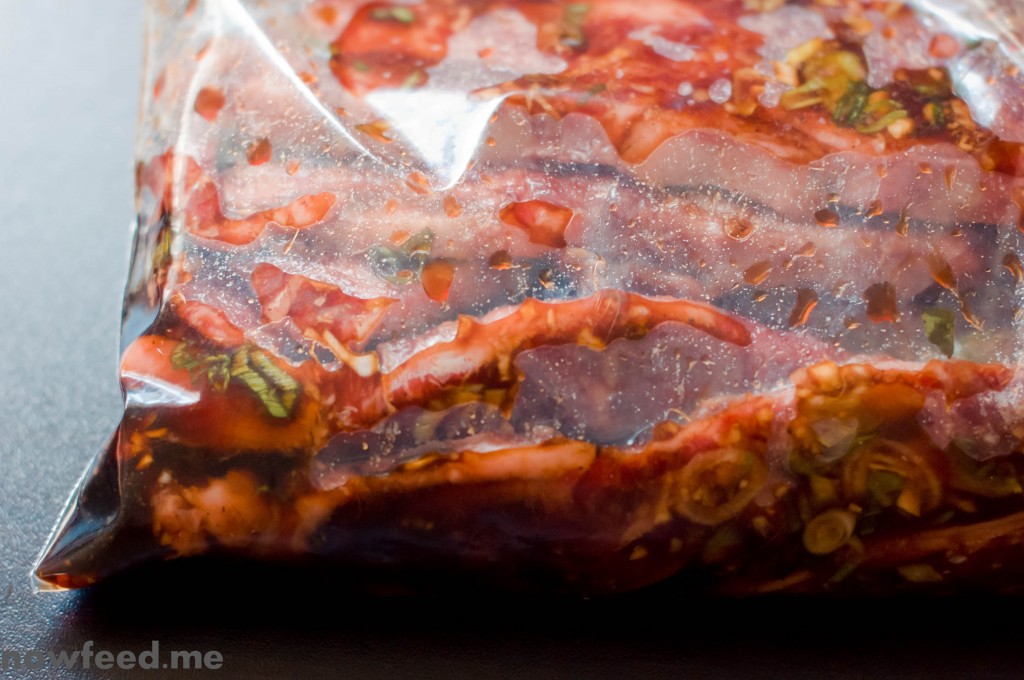
Put all the ingredients except the short ribs in a large ziploc bag or container and mix well. Add the short ribs and marinate in the fridge for at least 4 hours, over overnight.

Marinating kalbi meat

Marinating kalbi meat

Cooking

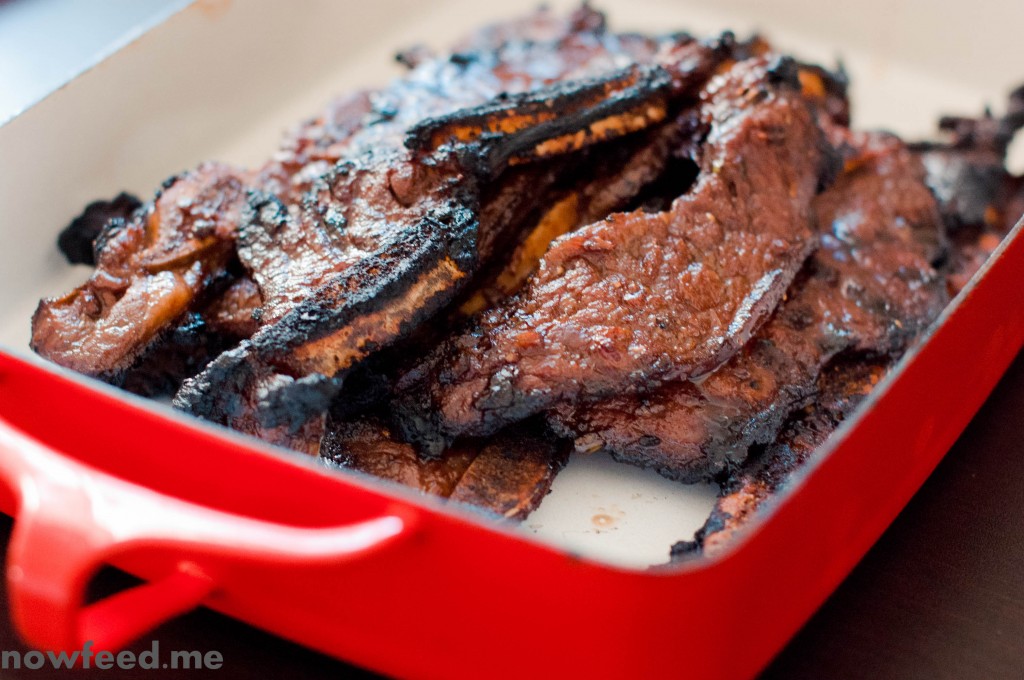
To cook, place a rack in the oven about 4 inches from the top and set the oven to broil. Place the marinated ribs in a tray and broil in the oven for about 3 minutes per side. Keep an eye on then as they will easily burn due to the sugar in the marinade.

Cooked kalbi meat

Cooked kalbi meat

Serve with rice.

Alternate cooking methods:

This dish can just as easily be grilled or pan fried for 2-3 minutes per side.

In summer I like to make these on the grill to cook outdoors, and doing so also reduces the amount of heat generated in the house when it’s already over 80 degrees indoors.

If you fry these in a pan it is better if you have a ridged pan as it makes nice lines on the ribs and also keeps any juices away from the meat, which helps prevent it from boiling in the pan if it is not quite hot enough. Make sure to start out with the pan preheated to medium-high heat (about 7 on my stove) to prevent this from happening.