Tag Archives: beef

Meat Jun

Meat Jun

Meat Jun

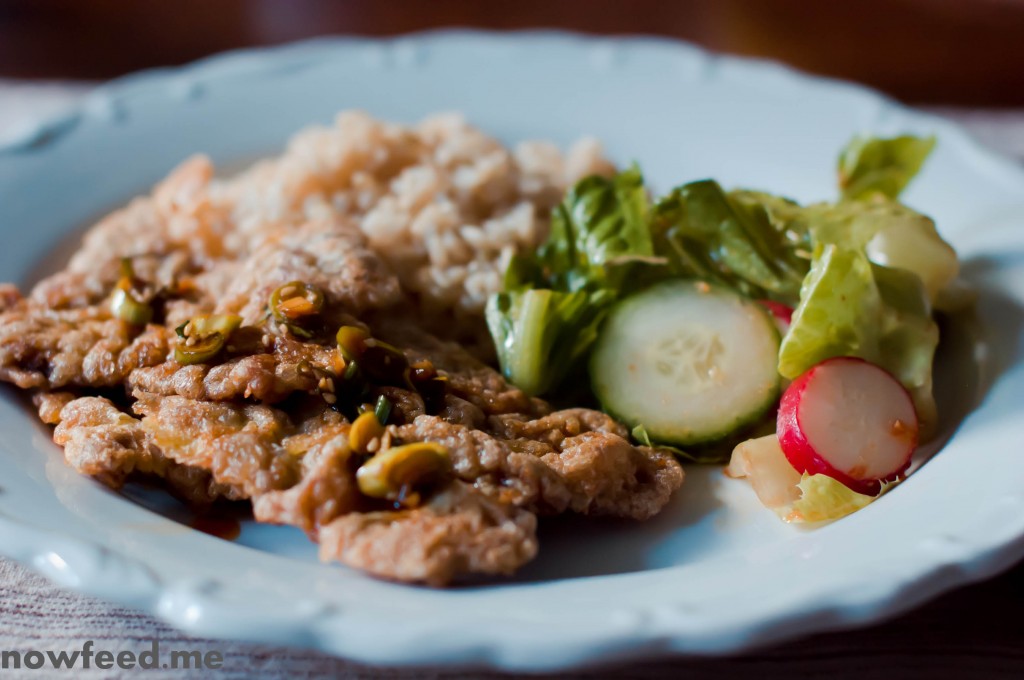
Meat jun is a “Korean” food I discovered while living in Hawaii. It’s basically thin slices of beef that are marinated, coated in flour and egg, and fried. It is usually served with a soy sauce based dip and/or a gochujang-based hot sauce, rice, and various vegetable sides (banchan). Any time I went to the Ala Moana food court or stopped by a Yummy’s I would almost always fore go trying anything else just so I could order meat jun. The gold standard for meat jun however is Soon’s. I used to live right across the street from the place for a while but it became out of the way when I moved closer to the University area.

After I left Hawaii I always scanned the menu at Korean restaurants looking for meat jun, but I could never find it. Only later was I told by a Korean restaurant employee in Seattle that it is not actually Korean and seems to be a dish that was developed in Hawaii. That explains why many Korean people I asked did not know what it is.

The bottom line was that if I wanted to enjoy meat jun again before my next trip to Hawaii I was going to have to learn how to make it myself. In my typical fashion I scoured the web for recipes and picked bits of pieces of various recipes and came up with one which I thought I would like. Having made this several times now the result is a recipe which I have written down and come back to over and over again.

Ingredients

2-3 lbs. beef, thinly sliced
1 cup shoyu
3 Tbsp sesame seed oil
3-4 stalks green onion – finely chopped
2-3 cloves minced garlic
6 eggs – beaten
Flour – about 1 1/2 to 2 cups
Oil for frying (I use vegetable oil)

Preparation

Cut meat into thin slices if using a large cut, or use thin sliced beef (about 1/8 inch thick)
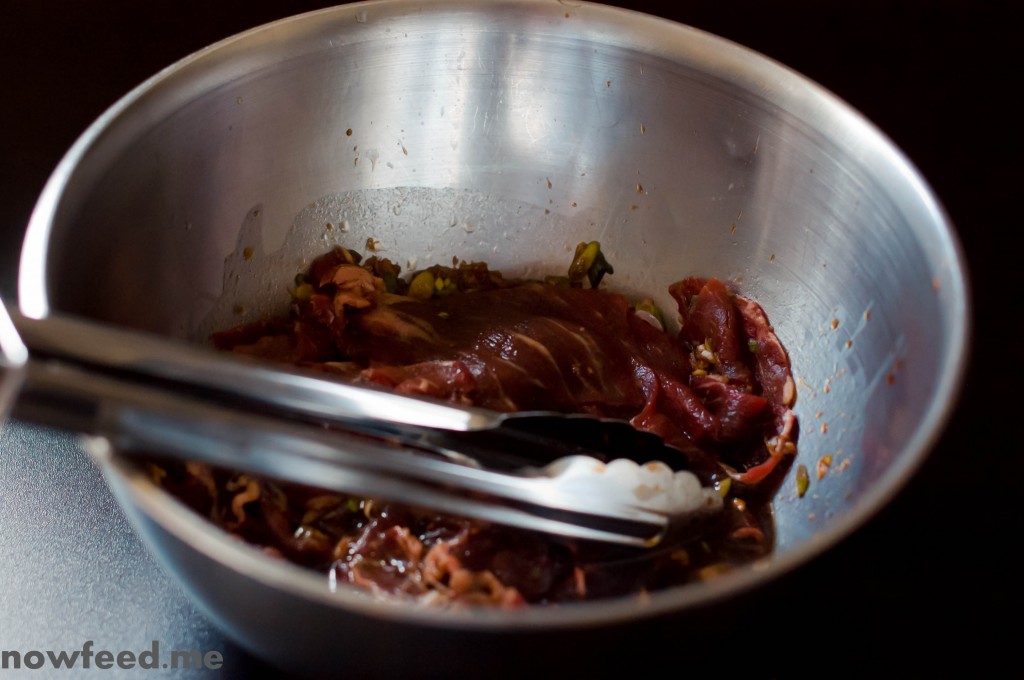
Place in a bowl – add shoyu, sesame seed oil, green onions, and garlic, mix well. Let sit for about 15 minutes. I like to do this a few hours before and let it marinate in the refrigerator.

Marinating Meat Jun beef slices

Marinating Meat Jun beef slices

Cooking

First make a little assembly line with the meat on the left, the flour in a flat pan or large plate in the middle, and the egg in a bowl on the right, closest to the frying pan. Dip the marinated meat pieces in flour and coat well, then shake off the excess. Transfer the meat into the beaten eggs to coat, covering the floured meat completely but allowing the excess to drip off. Fry on medium heat (about 6 on my electric stove top, 5 when I’m using cast iron) until barely golden brown. Drain on paper towels.

Dipping Sauce

My favored sauce:

1 cup shoyu
1/4 cup rice vinegar (Mirin)
1 stalk green onion, finely chopped
1-2 cloves garlic, minced or crushed
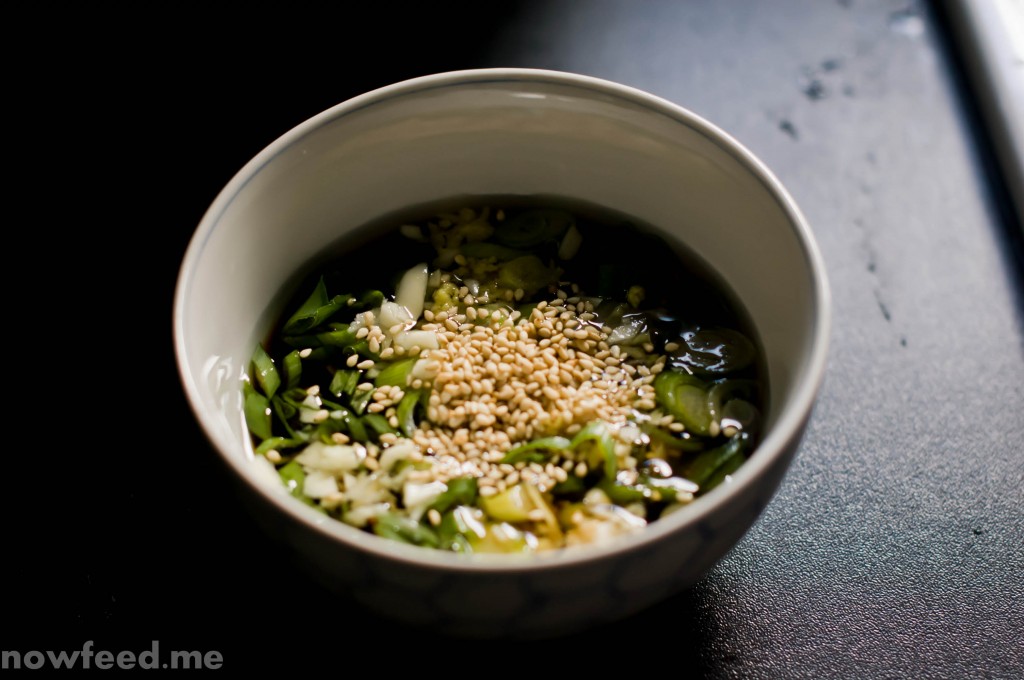
1/2 tsp toasted sesame seeds

Shoyu Meat Jun dip

Shoyu Meat Jun dip

My wife’s favored sauce:

Similar to the one above but add a tbsp of gochujang (Korean hot paste) and about a tsp of sesame oil, and no sesame seeds. We usually have both sauces at the table. I like spicy, but for some reason I just have to have my favored sauce with meat jun.

Gluten free variation:

  • Replace the shoyu (soy sauce) with a gluten-free soy sauce or tamari. We use San-J brand but any brand you like will work. I find it a bit of a waste to marinate with San-J so if you can use a cheaper wheat-free brand for the marinade and use the “better” brand for the dipping sauce.
  • Replace the flour with a gluten-free flour blend. We make one similar to the one found here.

I made the version for this recipe with gluten free ingredients only and it tasted the same as usual, so know that you won’t be missing out on anything at all.

Note:

Don’t buy meat which is sliced too thin. I always end up doing that then have to deal with the meat shredding apart. What’s too thin? Well for one if it’s cut for Sukiyaki (or hot pot) then it’s too thin. It should be about an 1/8 inch thick. The ones I get always end up being closer to a 1/16 inch thick – like a Sukiyaki cut – and they fall apart. Oh I still use them and they taste great, but it’s a bit inconvenient and harder to work with.

Prime Rib Roast

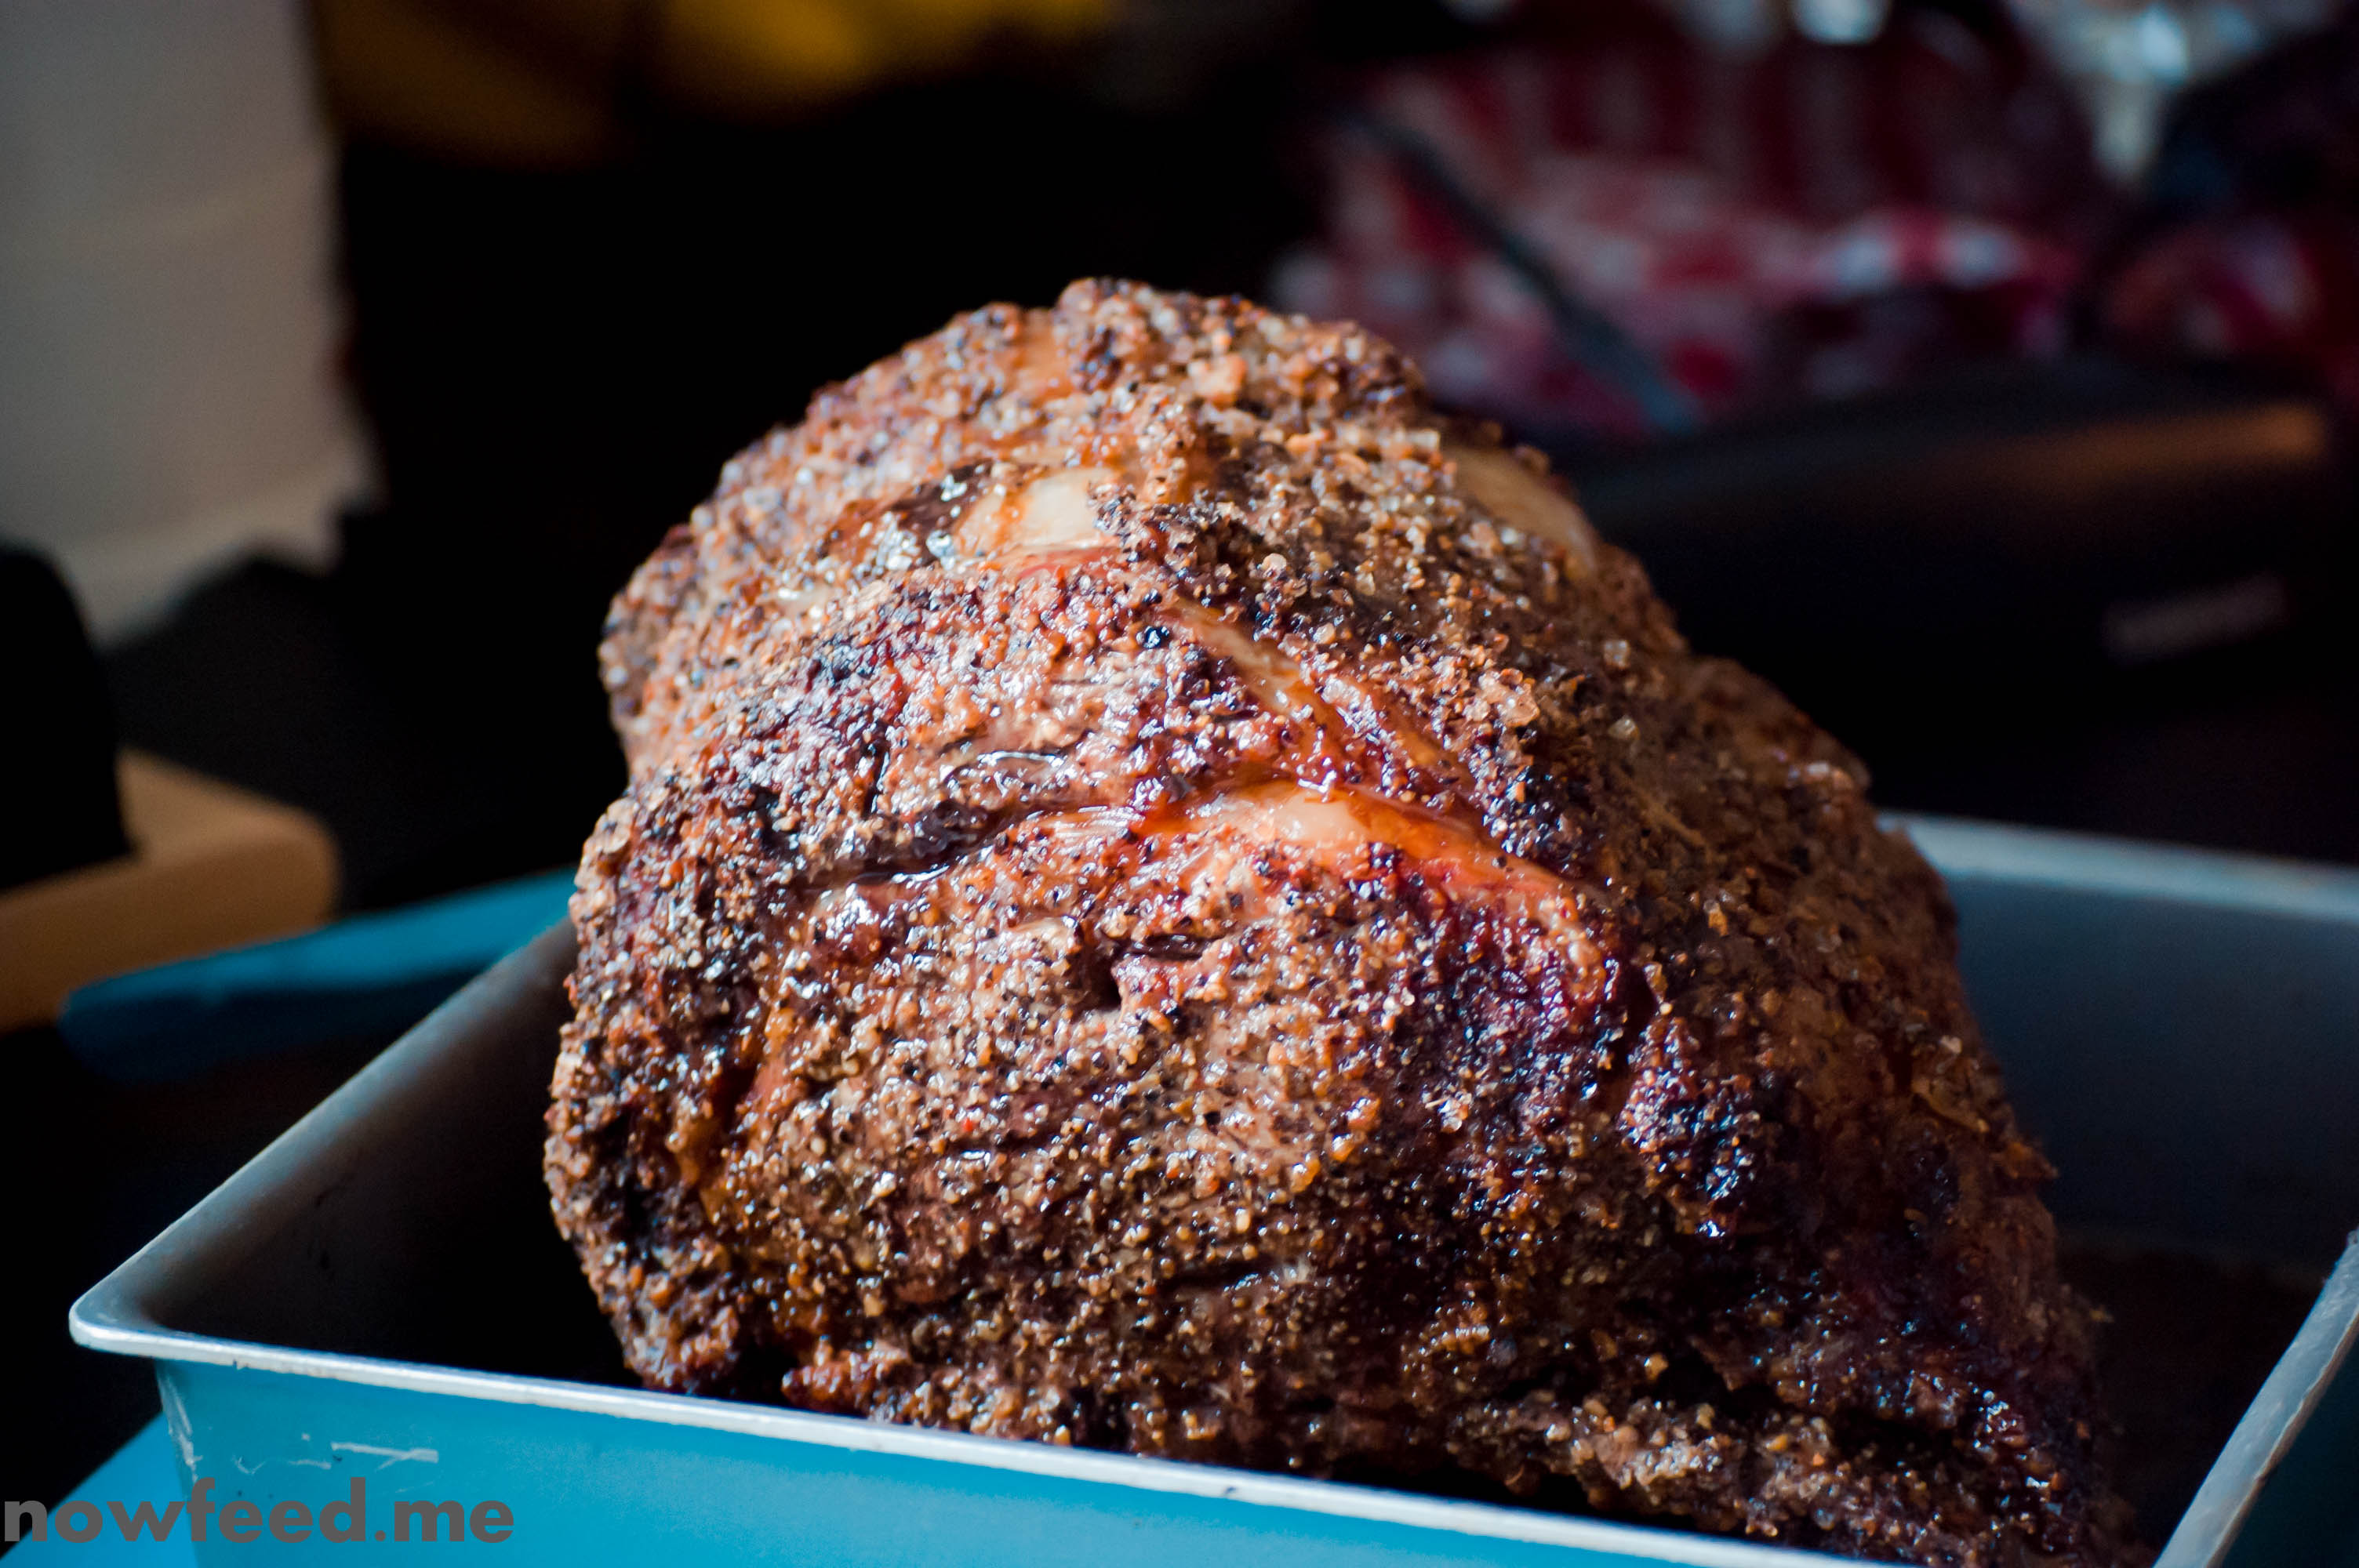
Prime rib roast just out of the oven

Prime rib roast just out of the oven

A prime rib roast is an easy to make dish for any special occasion. Around the holidays beef usually goes on sale and the week before Easter this year was no exception. How you season it is really up to you. I used to simply use Hawaiian salt and cracked black pepper, and garlic, but I once tried using McCormick Grill Mates Steak Seasoning – which I like to use on steaks – and have used it since.

Ingredients

5 lb rib roast (serves 5 – 10) depending on number of side dishes.
4 Tbsp McCormick Grill Mates Montreal Steak seasoning
2 Tbsp Hawaiian salt
1/2 tsp Cracked black pepper
3-4 cloves garlic

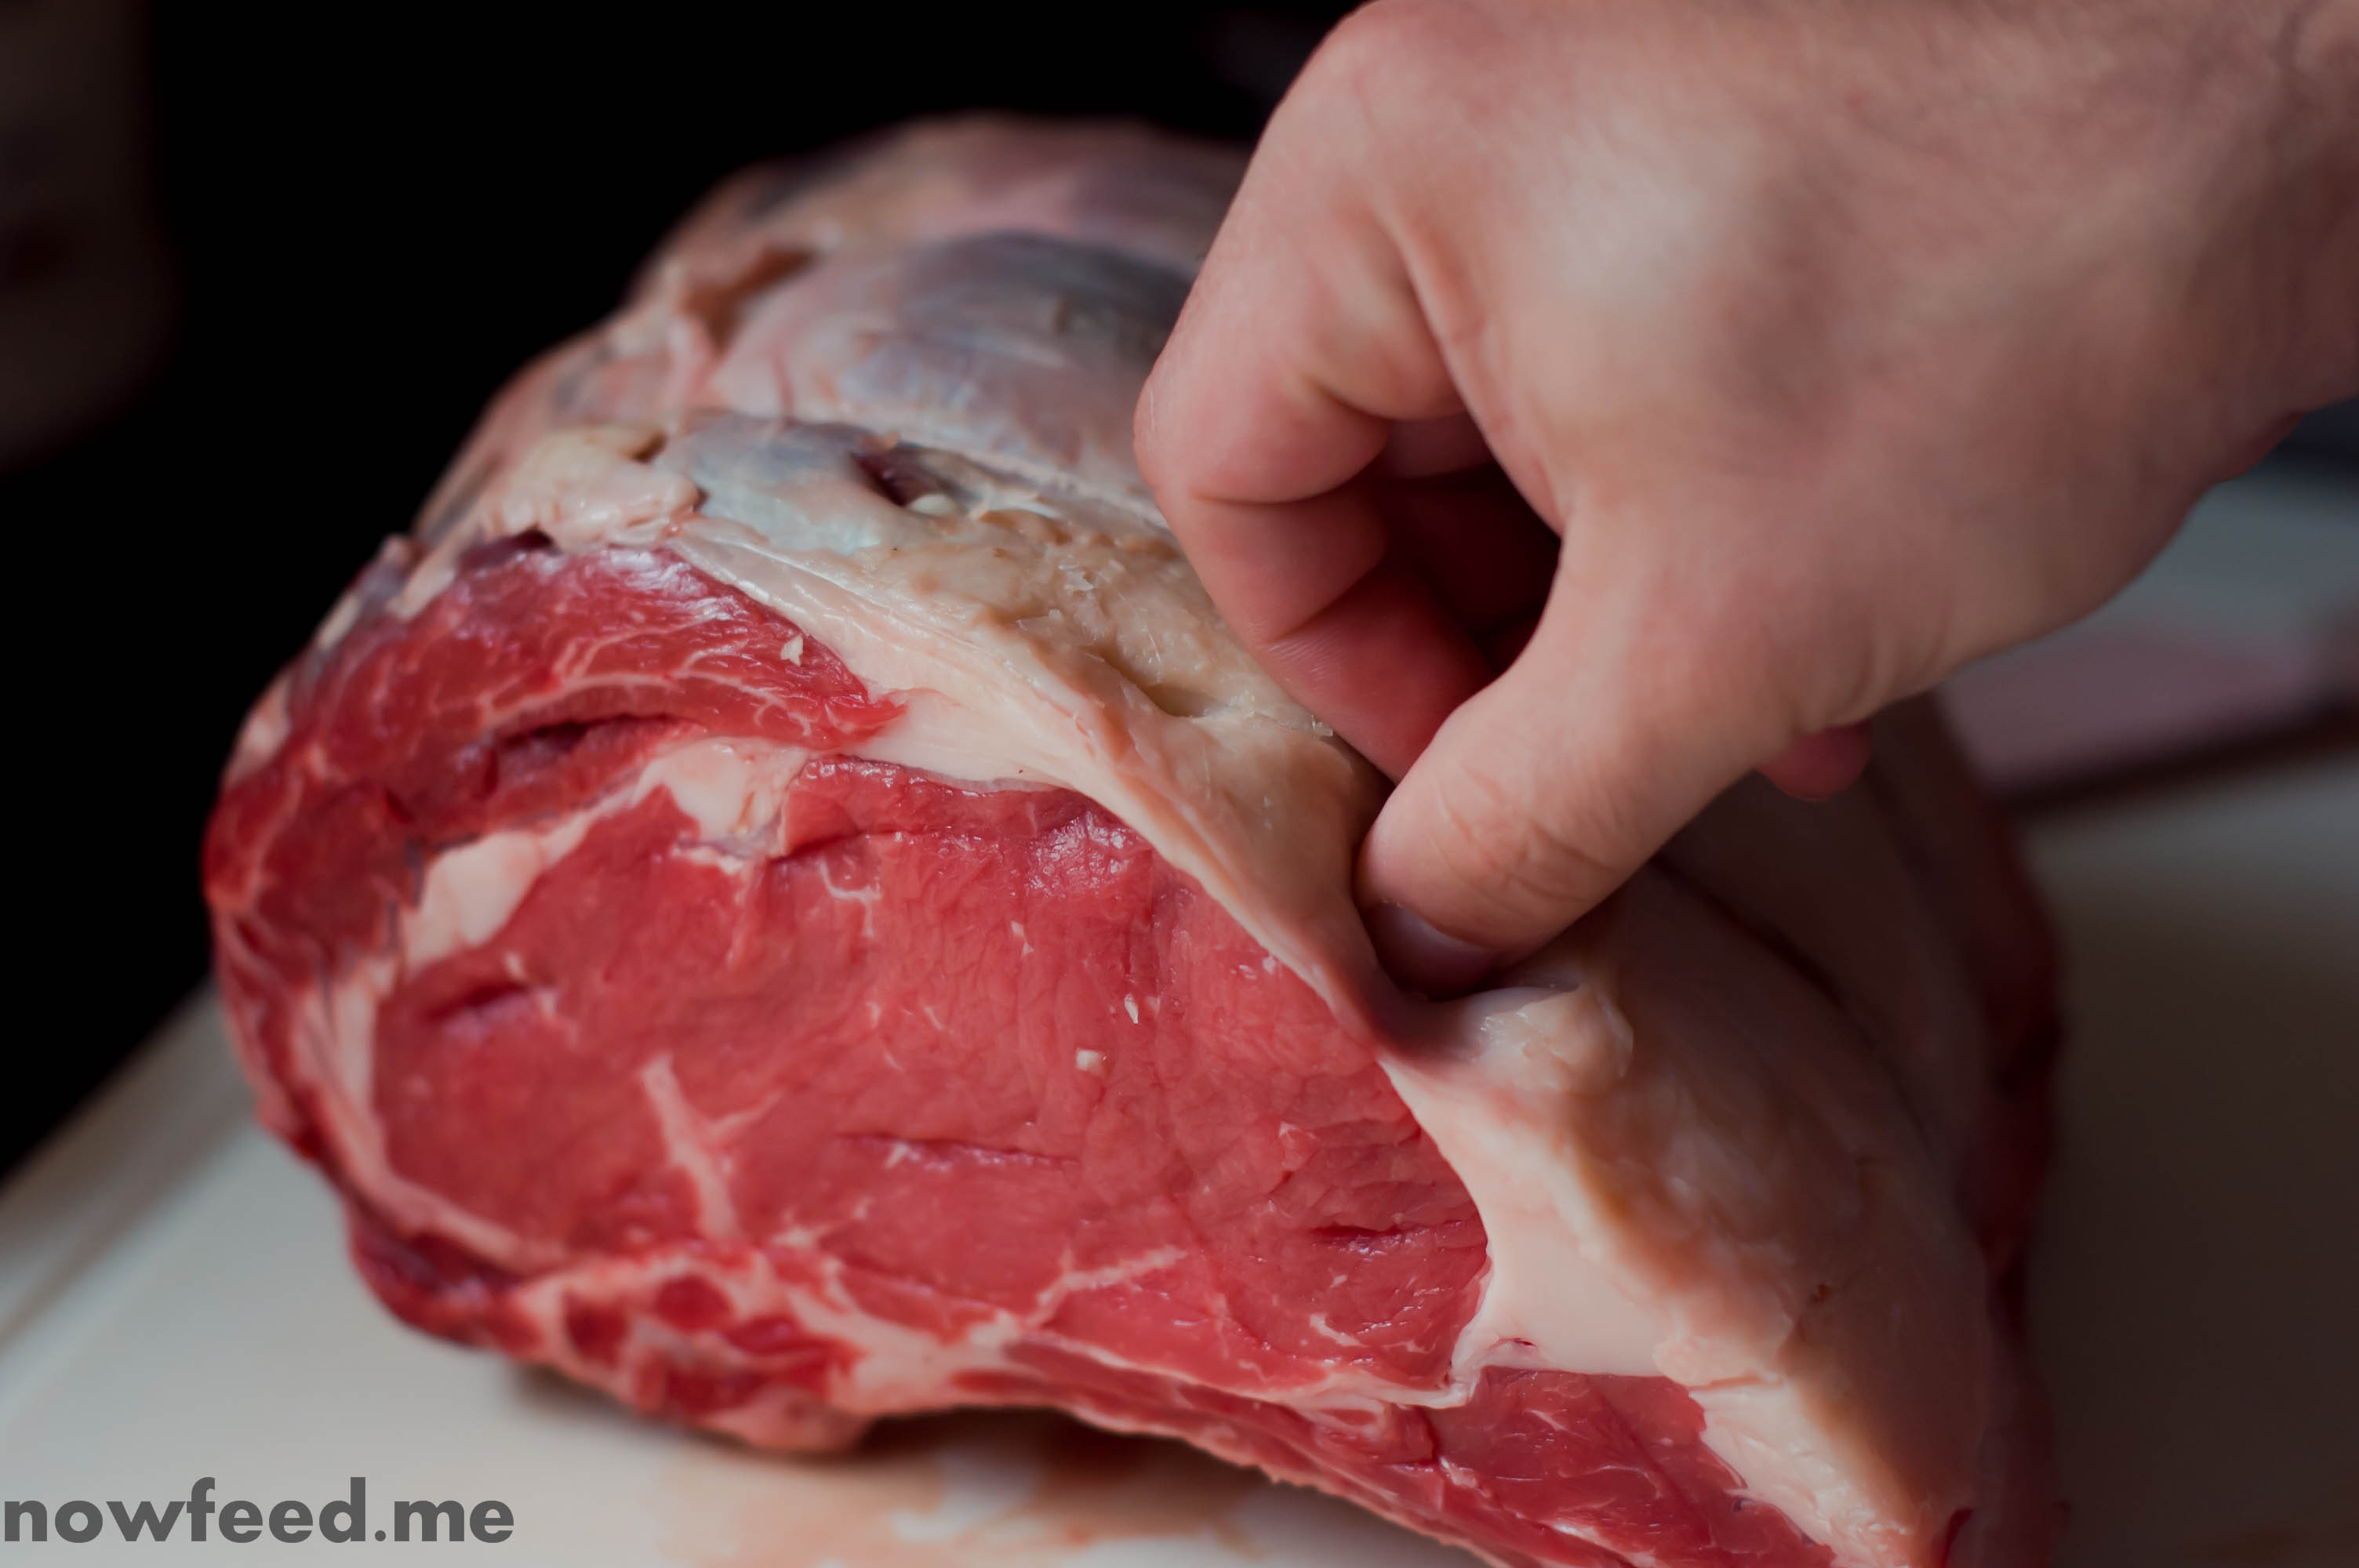
Putting in the garlic

Putting in the garlic

Preparation and Cooking

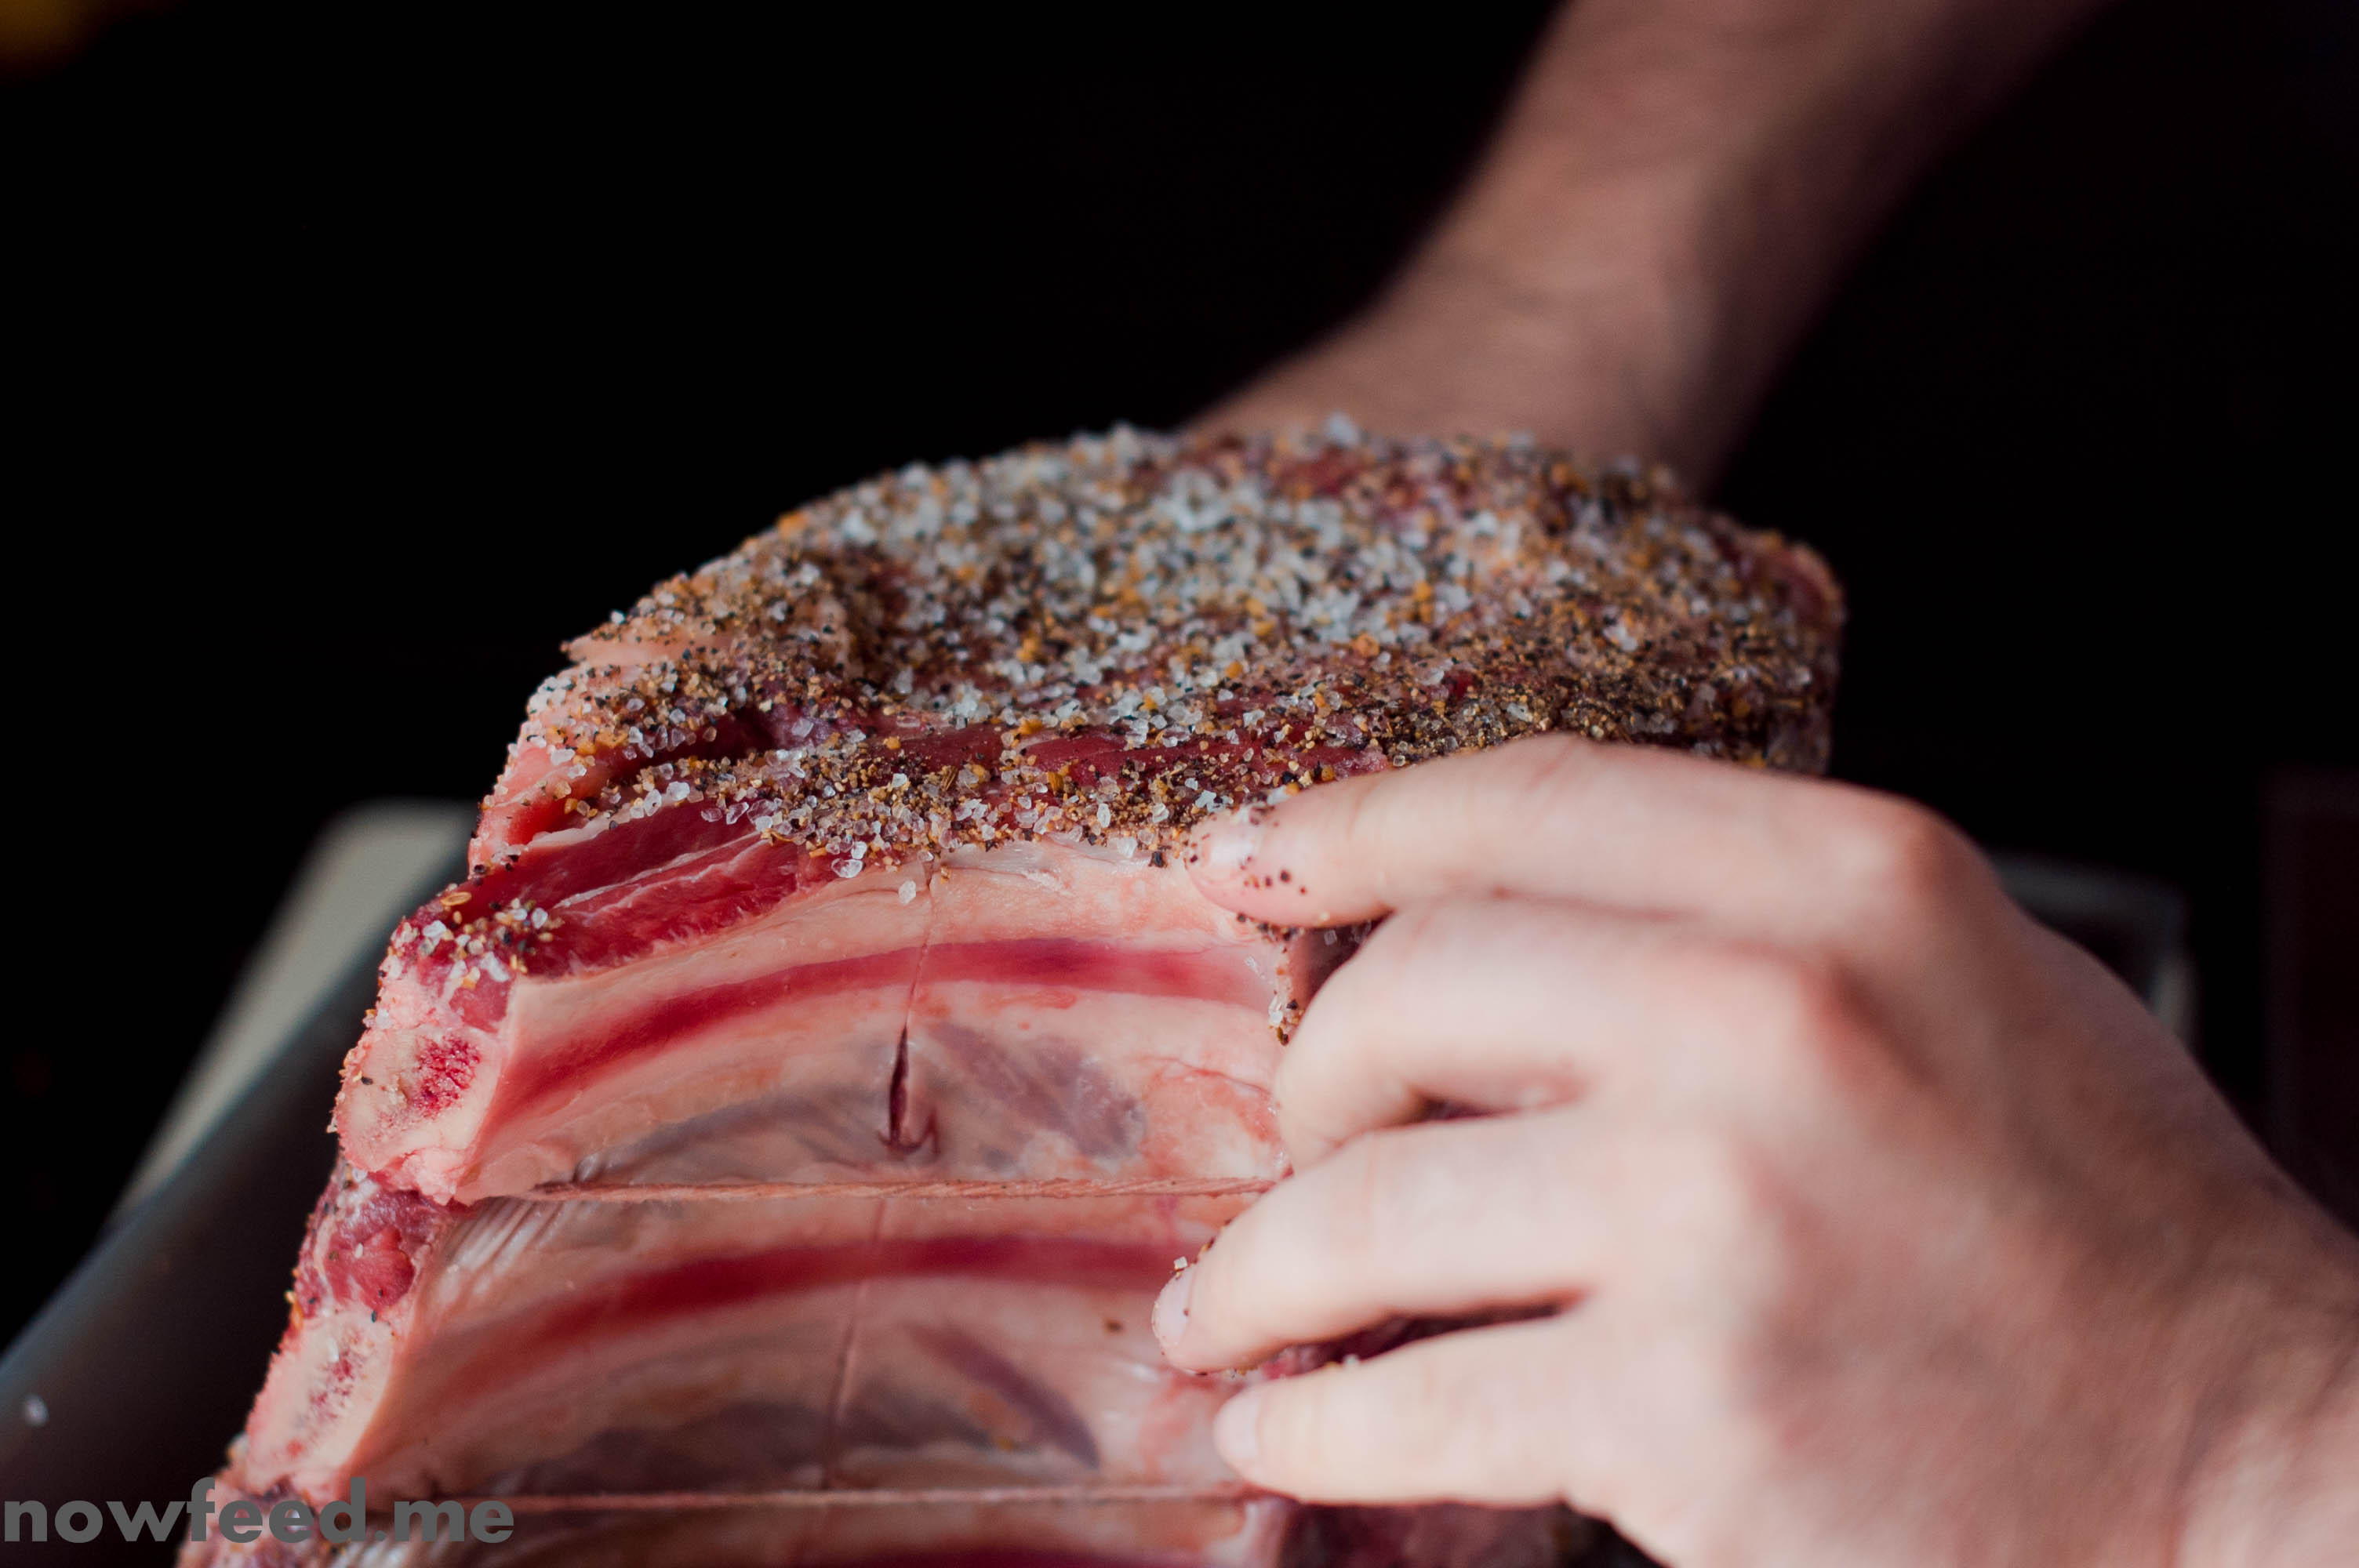
Pre-heat the oven to 450 degrees Fahrenheit. Make 1 inch deep slits around the roast. Put in a sliver of garlic in each, buried completely so they do not burn. Mix the Montreal Mix, cracked black pepper, and Hawaiian salt together and coat the meat all over. Place the meat in a roasting pan fat side up – the fat will baste the meat as it melts. Put the roast in the preheated oven for 15 minutes, then turn the heat down to 325 degrees. I crack the oven door open for about 10 seconds when I do this to allow the temperature inside the oven to drop.

Continue to cook for about 13 to 15 minutes a pound or until the desired internal temperature is reached. I use a meat thermometer that can stay in the meat as it cooks and remove the roast when the internal temperature reaches 120-125 degrees, for rare to medium-rare. The meat continues to cook a little while it rests.

Remove the roast and allow it to rest, loosely covered in foil for 10-20 minutes before slicing. This allows the juices to redistribute throughout the meat and not run all over the place.

Serving suggestions are a side of mashed potatoes, vegetables and/or a salad, and popovers.

Seasoning the meat

Seasoning the meat

Notes:

For rare internal temp should be 120-125 degrees.
For medium internal temp should be 140-145 degrees.

Know your thermometer. I find that some seem to run on the low side while others run on the high side. Remember that the internal temperature WILL rise about 5-10 degrees while the meat is resting.

Sunday Beef Stew

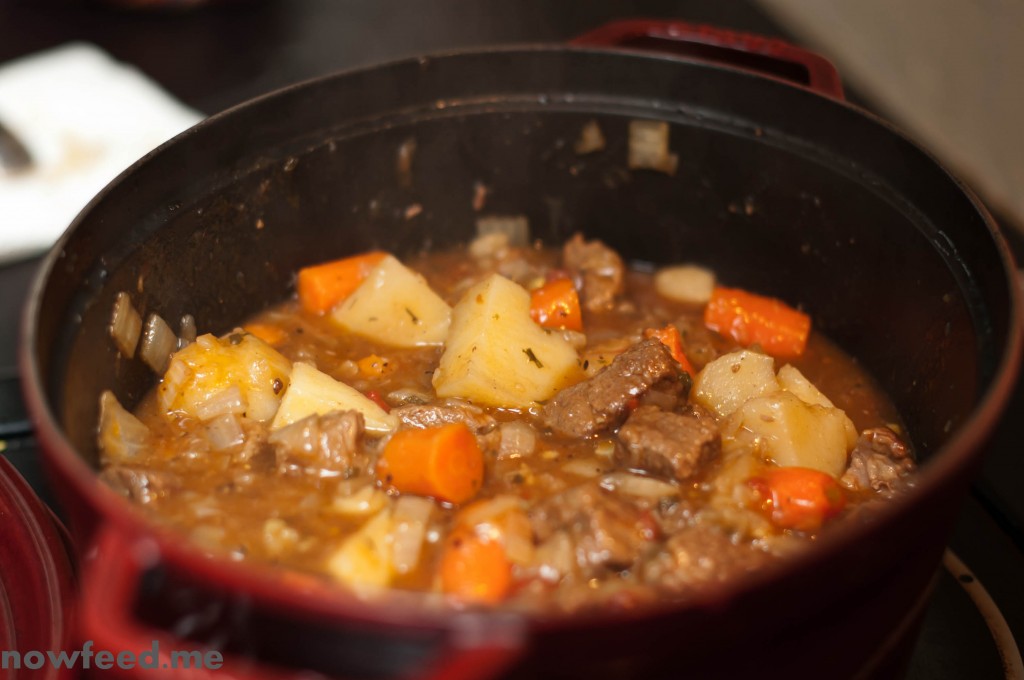
Beef stew simmering

Beef stew simmering

Although I love to cook I usually only get to do so on the weekends as I come home too late during the week to prepare a meal that we could eat before 7PM.  So my wife cooks during the week, and I make a breakfast and/or dinner or two on the weekends, usually making something that takes a little longer as the time is a bit of a luxury. Because spring refuses to come and stay around for a while I often find myself thinking about dishes like stews. Here is one I recently put together.

Ingredients

2 lbs beef (I used bottom round)
3 carrots
3 potatoes
1 large onion
1 turnip
1 bunch parsley (about a 1/4 cup)
2 sprigs rosemary
4 cups beef broth
1 160z can diced or whole tomato
1 tbsp ketchup
1 clove garlic
pepper to taste
salt to taste
1 tbsp Worcestershire sauce
a splash  of tabasco
3 tbsp olive oil

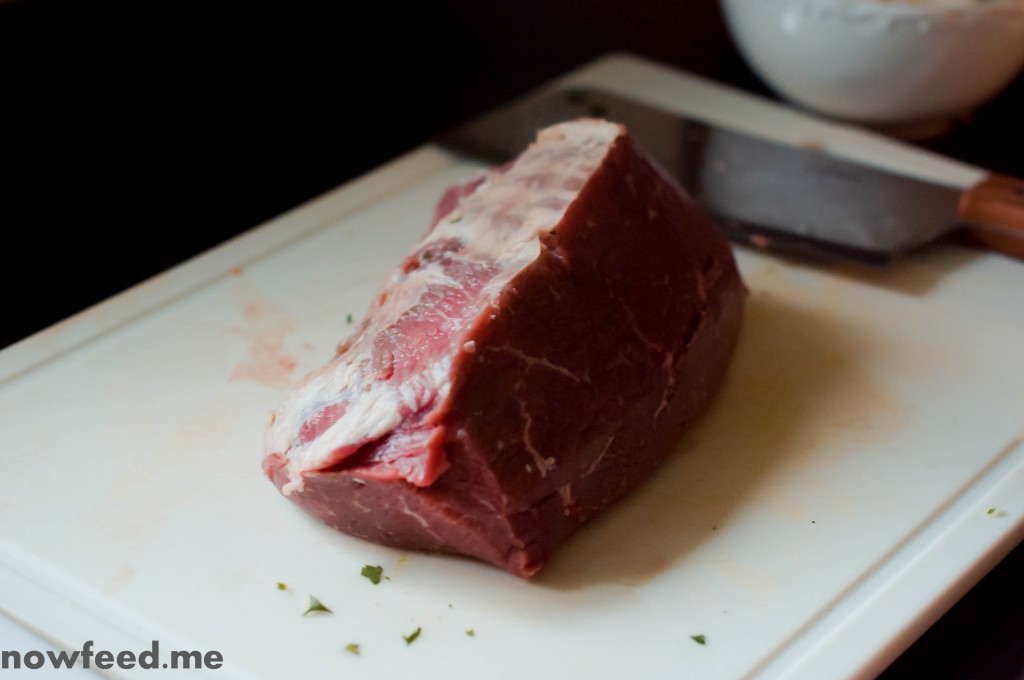
Beef stew meat

Beef stew meat

Procedure and Cooking

Cut the beef into 1 inch cubes.
Brown in large pot or dutch oven in small batches so the meat doesn’t boil. When all the meat has browned return all the meat to the pot, add the minced garlic stirring for about a minute being careful not to burn it, then add the beef stock, the parsley, the rosemary, the tomato sauce, and the turnips, and simmer for about 75 minutes.

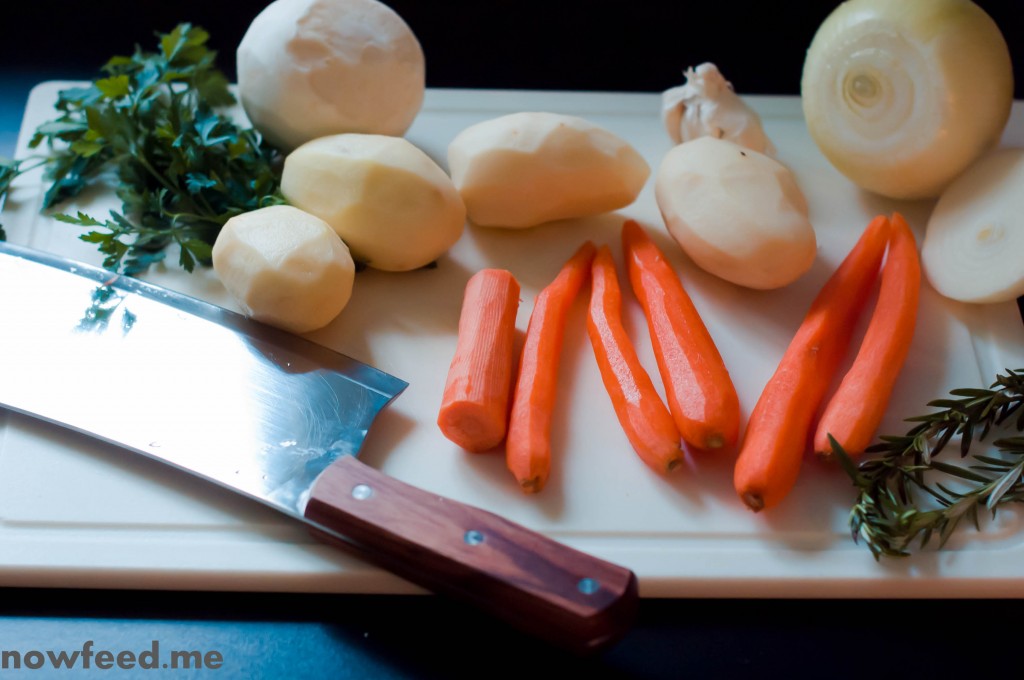
Beef stew vegetables

Beef stew vegetables

After 75 minutes add the remainder of the vegetables, the ketchup, Worcestershire sauce, a little salt, about 1/2 tsp pepper, and let simmer for another minutes. About 10 minutes before the stew is done combine the cornstarch with a little water and add it to the pot gently stirring continuously to incorporate it well. Be sure the stew returns to a simmer for about 5 minutes and it’s ready to serve.

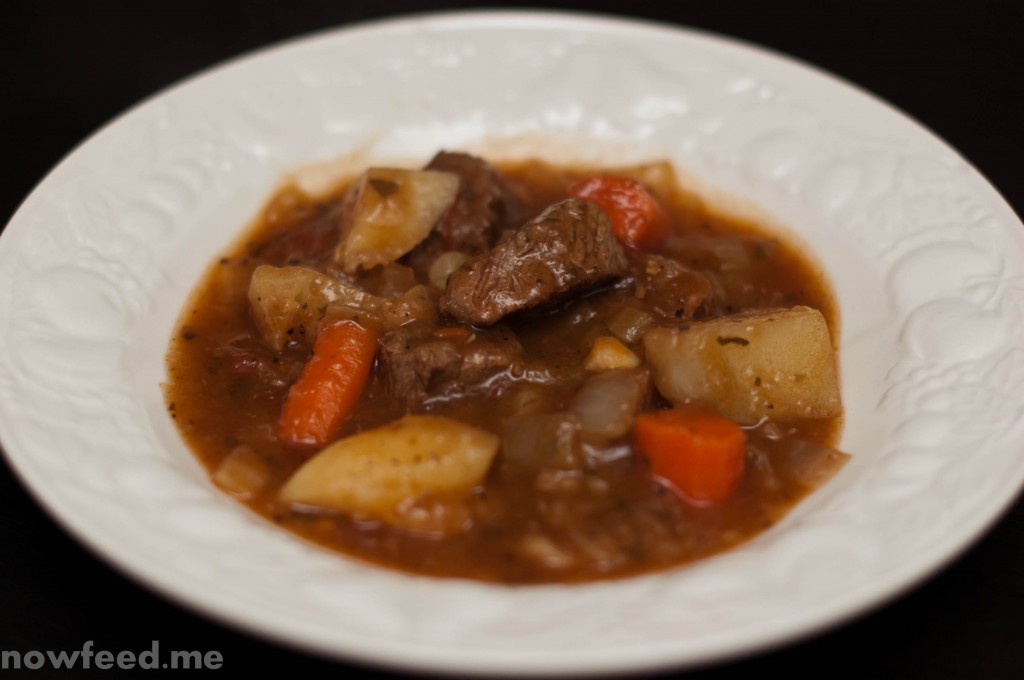
Sunday Beef Stew

Sunday Beef Stew

Notes:

While I did not flour the beef when making this stew certainly feel free to if you like a thicker stew. I like my stews pretty thick and this one was thick enough for me without flouring the beef before browning. Not using flour also keeps it gluten free.

If you do not like using cornstarch as a thickener some alternatives are potato starch, flour, a gluten-free flour mix (such as Better Batter), or arrowroot. In all cases mix with a little water in a separate bowl and stir out the lumps. Slowly pour into the stew while stirring and continue to simmer for 5-10 minutes to thicken the stew and cook out the taste of the flour.