Tag Archives: beef

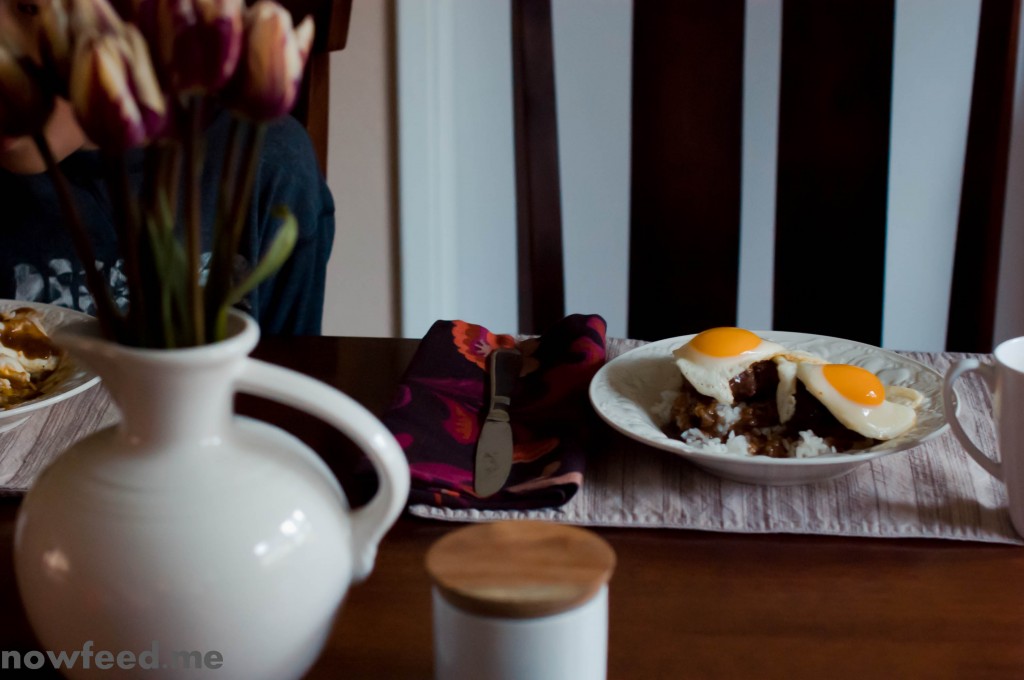
Loco Moco

Loco Moco

Loco Moco

Loco moco is one of those unique dishes in Hawaii that are ubiquitous at home and often taken for granted. When I moved to the mainland it was one of the first dishes I had to learn to make on my own. I’m no slouch when it comes to cooking but local food in Hawaii was always available for cheap within 5 minutes from anywhere so I always grabbed it at a lunch wagon, at a drive-in, at a food court, or a hole in the wall, and I never really bothered to learn how to make it.

No longer having easy access to it however I knew that I would have to learn how to make it. The craving for the flavor explosion in the mouth that happens when the hamburger patty, gravy, and runny egg yolk come together drove me to experiment with recipe after recipe until I finally came up with one that works for me. While all recipes are seemingly always a work in progress no matter how good they are – and because I often make do with what I have on hand rather than run to the store for just one ingredient – here is Loco Moco as I make it today.

Serves 4

Ingredients

1 lb ground beef
1/2 small onion
salt, to taste
pepper, to taste
2 cups beef broth
1 or 2 dashes Worcestershire sauce
2 tbsp flour
3 tbsp water
4 eggs

Preparation

In a bowl mix the ground beef, onion, salt, and pepper and form the patties any way you want to. I form them with my hands, about 3 1/2 inches in diameter and about 3/4 inch thick.

Cooking

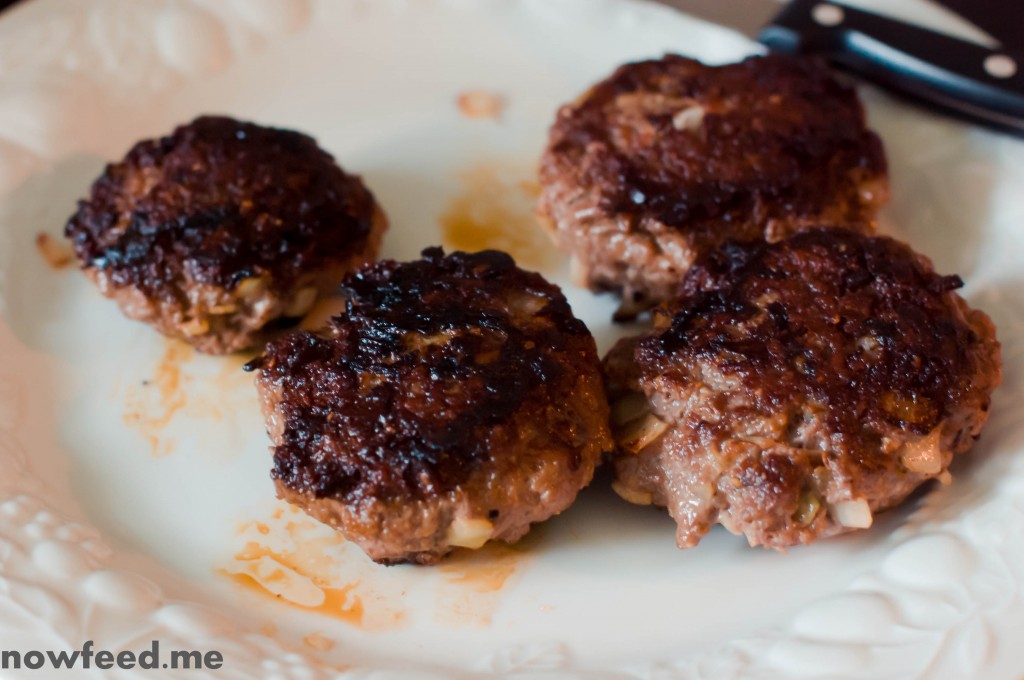
Preheat a pan on medium-high, about 6 on my electric stove, then add the oil to the pan and allow to heat for about 20-30 seconds, or until the oil begins to shimmer. Fry the patties for about 3 minutes per side for just well done.

Beef patties

Beef patties

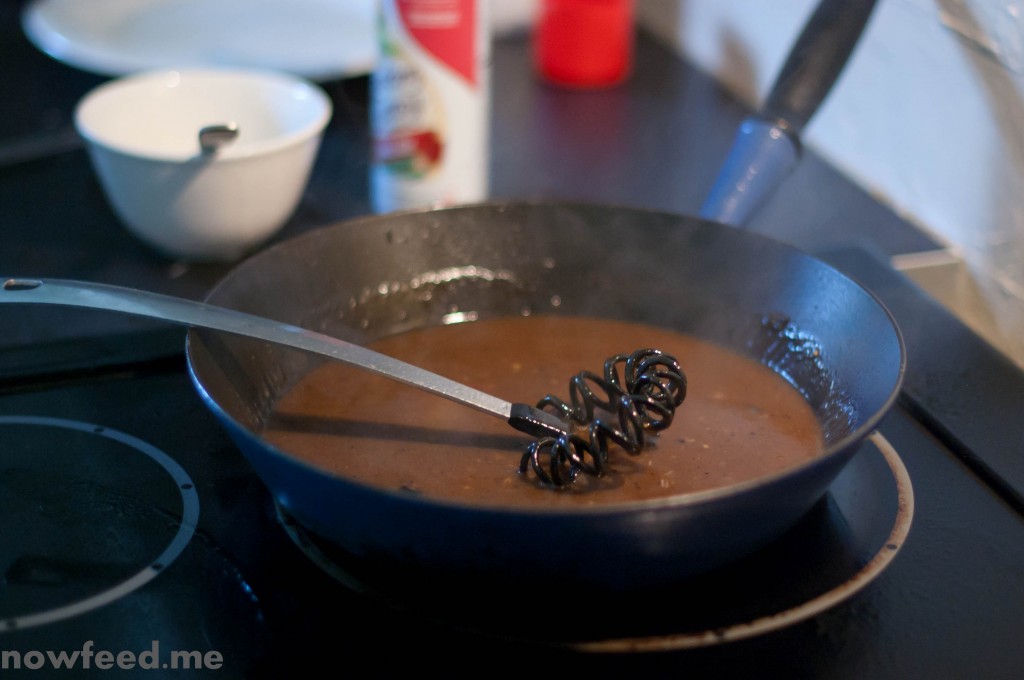
When the patties are done remove them from the pan and deglaze the pan with a little beef broth, then pour the rest in. Add one or two dashes of Worcestershire sauce and let the sauce reduce for a few minutes, until almost reduced by half.

Loco moco gravy

Loco moco gravy

Mix the flour with a few tablespoons of water and slowly add about a tablespoon or two at a time and mix well allowing the sauce to thicken. When it is the consistency of gravy that you like simmer the sauce for a few more minutes to cook out the taste of the flour. If you want to get fancy add a tablespoon of butter at the very end and mix it in well to give the gravy a little sheen, like in the restaurants.

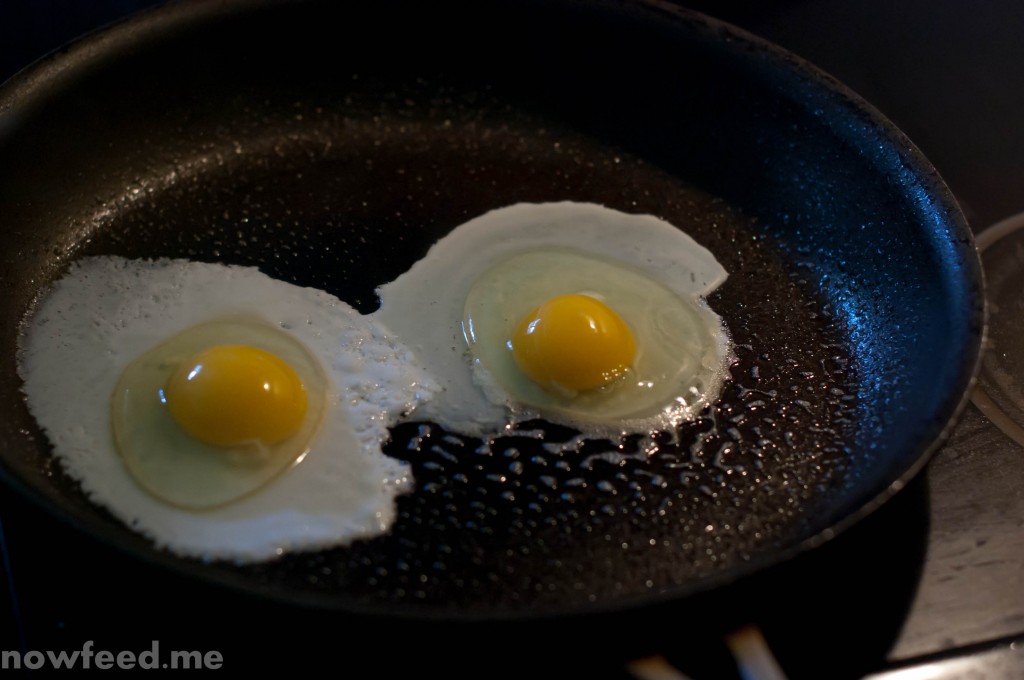
Usually right around when the patties are done I begin to cook the eggs in a separate pan, sunny side up allowing for one egg per dish. Cook them low and slow so they stay soft as you want the yolk to ooze all over when you break it.

Eggs sunny side up

Eggs sunny side up, low and slow

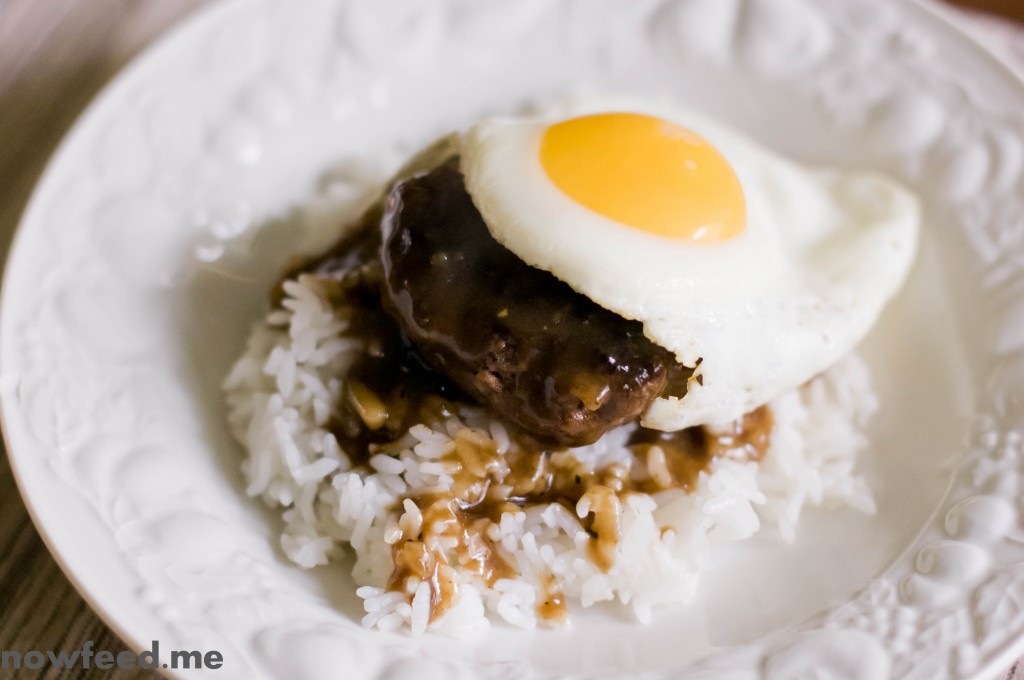
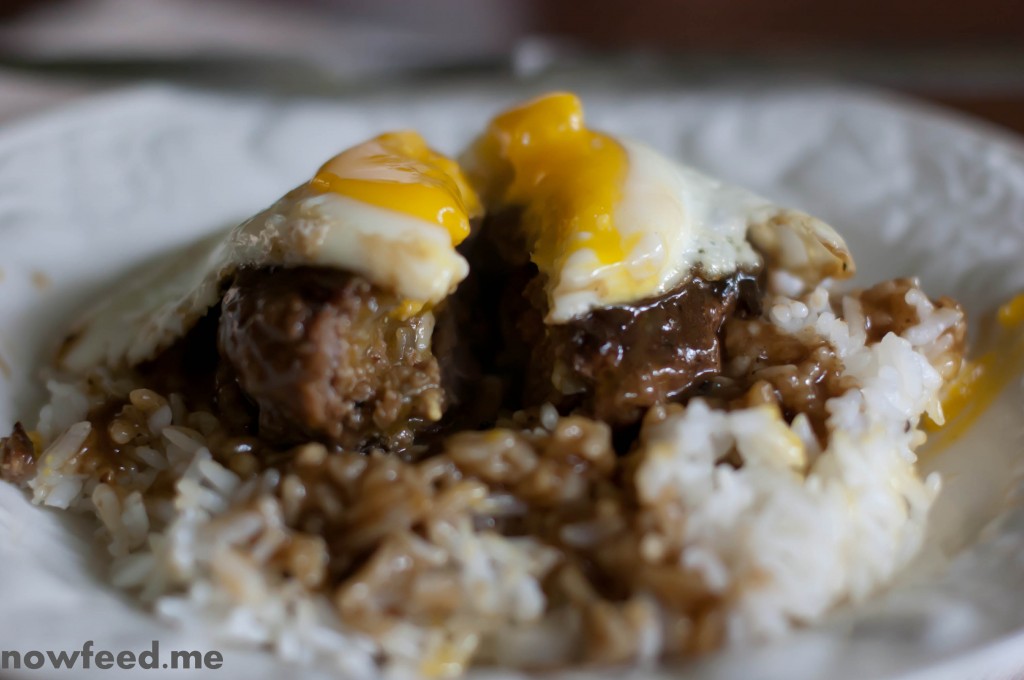
When the patties, gravy, and eggs are done it’s time to build the loco moco. Put one or two scoops of rice in a dish or bowl, place a pattie in the middle, ladle some gravy over the beef and a little over the rice, then place the egg on top. Dig in!

Building the Loco Moco

Building the Loco Moco

Hungry man’s alteration: Use a little more beef and a few extra eggs to make an extra beef patty and egg per dish.

Double Loco Moco

Double Loco Moco.

Cooking tips:

You will need two frying pans for this dish so have them both ready. Preheat the pan you use for the eggs (on about 4 1/2 – 5 on my electric stove) for a couple of minutes right before you take the patties out of their pan so you have time to cook the eggs low and slow.

Remove the ground beef from the refrigerator about 15-20 minutes before you begin to bring it closer to room temperature. Besides making it a little to form the patties the beef will cook faster and more evenly in the pan. Using cold meat will make for longer cooking times and a less juicy patty.

Make use of your oven to keep patties and eggs warm. This is something I always do when food finish cooking at different times. Set your oven to the warm setting, if it has one, or around 160 degrees Fahrenheit. Place the patties in the oven on a plate when they are done, and do the same with the sunny side up eggs as well. Don’t crowd the eggs in the pan or the whites will cook into each other. Cook fewer eggs at a time to keep them separate, but keep the cooked eggs warm until you are ready to plate.

Gluten-free variation:

In place of flour use a gluten-free flour mix – which I did the day I made this for breakfast – or other thickener such as corn starch, arrow root, etc. I prefer flour myself.

Use Lea & Perrins Worcestershire sauce which is gluten-free in the United States, or any other brand labelled as gluten-free. My understanding is that the Canadian and British versions are not gluten-free.

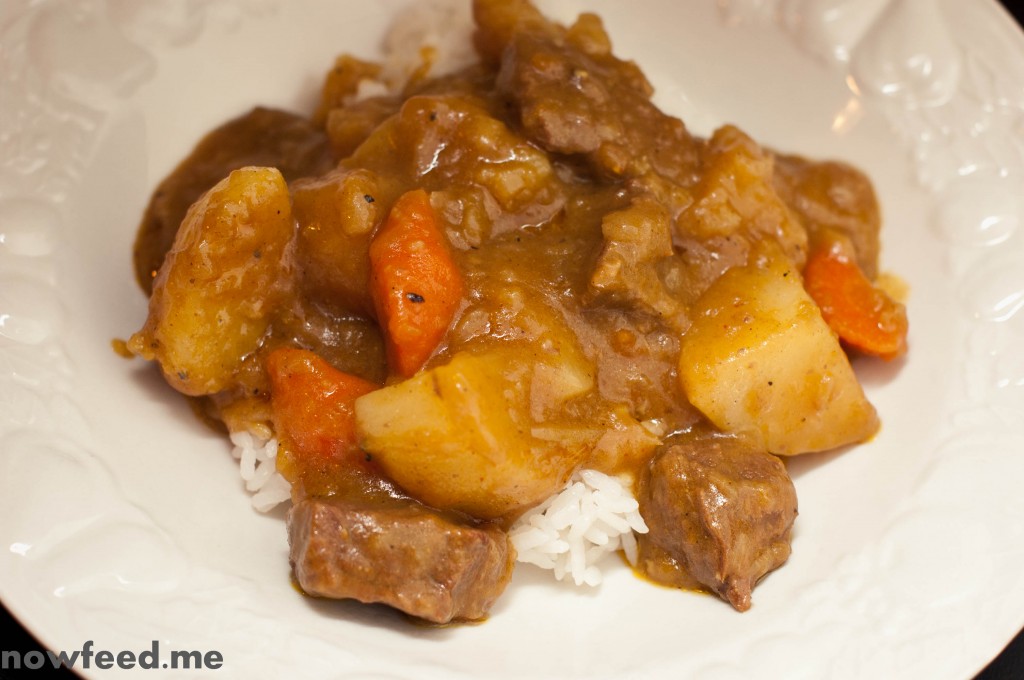
Gluten-free Japanese Beef Curry from scratch

Japanese beef curry - gluten free variation

Japanese beef curry - gluten free variation

I discovered Japanese curry as a teenager after moving to Hawaii in the early 90s and have craved it ever since. One of the greatest days had to be when I was introduced to Curry House, a Japanese curry restaurant chain which opened in Hawaii. After moving away I learned to my dismay that Curry House had not made it to my new home state so I resorted myself to making curry using the packaged cubes many of us know. Frankly they’re not that bad and make for a quick and easy curry. Trying out different brands other than simply sticking to S&B the way I used to introduced me to other flavors of curry which I have come to prefer. I had wanted to learn how to make Japanese curry from scratch for may years but never got around to learning how. Part of it was because, though I am half Asian, I am not familiar with cooking with the spices involved when making curry (Japanese or otherwise).

One day I learned that my blood pressure was on the rise and I had to make the decision to watch my salt intake. Knowing how much sodium is in prepackaged ramen we took a look at a package of curry cubes and saw that the sodium content in one of those packages is very high too. So I did what any self-respecting foodie with a craving would do and began browsing through cookbooks and web sites. Not being one to simply follow any recipe I took bits and pieces of several recipes and came up with my own. Round one was a chicken curry which was good but I regretted not using beef as I prefer it. While nothing was wrong with the curry itself, and everyone liked it, that it was chicken instead of beef was unusual for me and as it didn’t have a richer flavor.

Well the craving for Japanese curry came again today and this time we are in a period of eating gluten-free to test whether one or more members of our family might be sensitive to gluten. So I made curry again, this time with beef and gluten-free. Inspiration as before came from several recipes, though quite a bit came from the recipe posted by Aya Tanaka on the Serious Eats web site. The recipe I made today serves 4.

Ingredients:

Curry:

1 lb beef, cubed
2 onions, sliced thin
2 Tbsp butter
2 carrots, cut into pretty large pieces
4 potatoes, cut into large cubes
4 cups beef broth (32 ounces)
salt to taste
pepper to taste

For the roux:

3 Tbps butter
1/4 cup all purpose gluten-free flour mix (such as Better Batter or other rice and tapioca flour mix)
1 1/2 Tbsp S&B curry powder (comes in a can)
1/2 Tbsp Garam Masala
splash of Worcesteshere sauce

Start by slowly caramelizing the onions in a large pot on low heat. This is a long and slow process which can take half an hour or more. Turning up the heat too high will brown the onions which is not what you want. When done remove from pot into a bowl, turn up the heat to medium-high (6 on my stove) and brown the beef cubes in some vegetable oil for a few minutes until they are browned on all sides. Make sure you wait for the pan to heat up enough first so you don’t end up with boiled grey meat instead of browned meat. Add the carrots, the caramelized onions, and the beef broth and bring to a boil. Once it has come to a boil turn it down to simmer (3-4 on my stove) and skim off the impurities off the top. Cover and let simmer for 30 minutes, checking on it every 15 minutes or so and giving it a stir. When the meat is beginning to feel tender (like it will break easily after another 30 minutes of cooking) add the potatoes and simmer for another 30 minutes or so. Note that if you don’t like very soft carrots you can hold off on adding them after the meat is browned and add them with the potatoes. When the potatoes are done (before they begin to fall apart and disintegrate) scoop out some liquid and dissolve the roux, then add it all back into the pot and let it thicken for a few minutes. Turn off the heat and serve.

To make the roux:

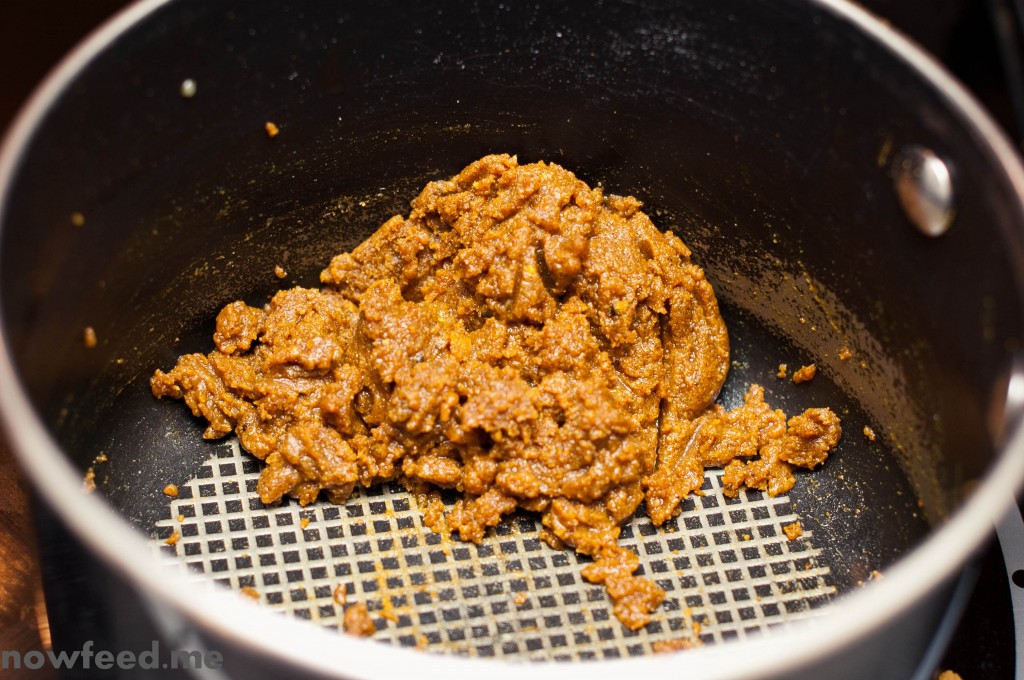
Melt the butter in a small pot or pan. Add the gluten-free flour mix, garam masala, black pepper, a splash of Worcesteshere sauce, and a small squeeze of ketchup (1-2 tsp). Whisk it all together quickly until it thickens into a paste. When done take it off the heat and set aside until the stew is done and you are ready to use it. You can add some Ichimi Togarashi to your plate if you want it spicier.

Japanese curry roux

Japanese curry roux


Goulash

Goulash

Goulash

Well the snow kept on coming through the weekend so my thoughts hovered towards warm weather food, stews in particular.  A couple of suggestions were made and I settled on making a goulash.  It’s easy, I had plenty of time, I had stew meat, and I had onions.  I don’t know whether the version I make is authentic but this is the one used in my family.

I started out sautéing 3 onions with a little oil on low heat in a cast iron dutch oven, added a couple of smashed garlic cloves, a little salt, and let the onions soften until translucent, about 10 minutes or so. In the meantime I browned a pound of stew meat in a separate cast iron pan and added the meat to the onions as the pieces were browned.  When done I added a little water to the pan, scraped the good stuff on the bottom and added the mixture to the dutch oven.  I then added a heaping tablespoon of flour and stirred to coat, shook in about 2-3 tablespoons of paprika, stirred some more, then added two cups of water and a beef bouillon cube.

I then let it simmer on low (1.5-2, mostly covered stirring occasionally), for the entire afternoon – although 2 hours is usually enough. About 40 minutes before dinner time I added a large carrot, diced.  Finally I boiled a pot of water and dropped in some egg noodles and cooked according to the package directions.  I spooned the goulash over the noodles in a bowl and voilà!  A sprinkle of parmesan at the table and we had a hearty dinner perfect for a cold snowy evening.