Loco Moco

Loco Moco

Loco Moco

Loco moco is one of those unique dishes in Hawaii that are ubiquitous at home and often taken for granted. When I moved to the mainland it was one of the first dishes I had to learn to make on my own. I’m no slouch when it comes to cooking but local food in Hawaii was always available for cheap within 5 minutes from anywhere so I always grabbed it at a lunch wagon, at a drive-in, at a food court, or a hole in the wall, and I never really bothered to learn how to make it.

No longer having easy access to it however I knew that I would have to learn how to make it. The craving for the flavor explosion in the mouth that happens when the hamburger patty, gravy, and runny egg yolk come together drove me to experiment with recipe after recipe until I finally came up with one that works for me. While all recipes are seemingly always a work in progress no matter how good they are – and because I often make do with what I have on hand rather than run to the store for just one ingredient – here is Loco Moco as I make it today.

Serves 4

Ingredients

1 lb ground beef
1/2 small onion
salt, to taste
pepper, to taste
2 cups beef broth
1 or 2 dashes Worcestershire sauce
2 tbsp flour
3 tbsp water
4 eggs

Preparation

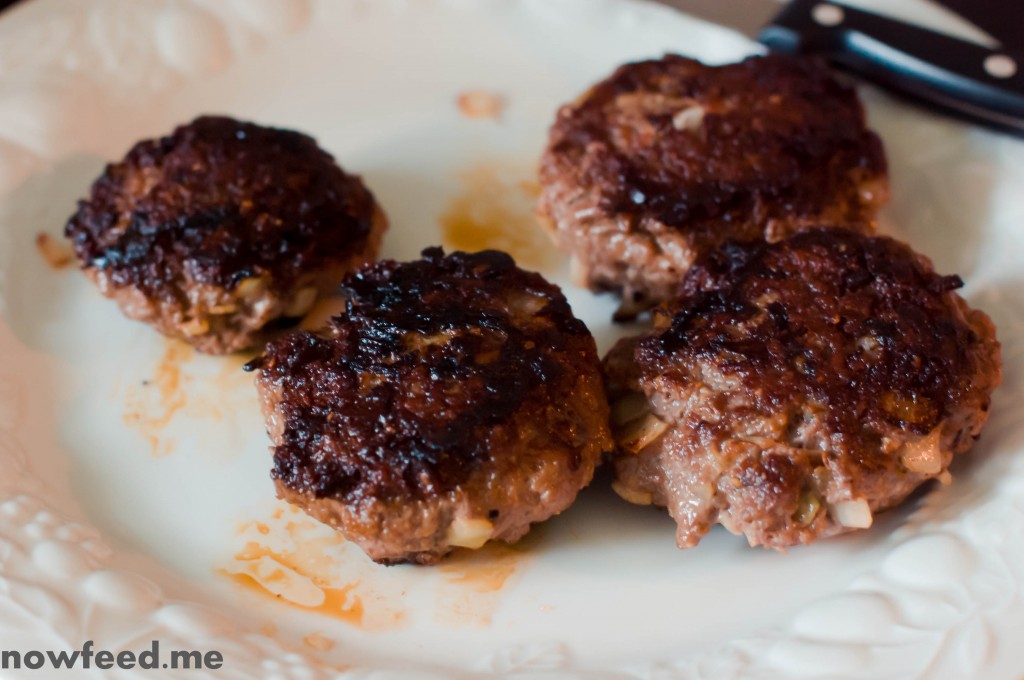
In a bowl mix the ground beef, onion, salt, and pepper and form the patties any way you want to. I form them with my hands, about 3 1/2 inches in diameter and about 3/4 inch thick.

Cooking

Preheat a pan on medium-high, about 6 on my electric stove, then add the oil to the pan and allow to heat for about 20-30 seconds, or until the oil begins to shimmer. Fry the patties for about 3 minutes per side for just well done.

Beef patties

Beef patties

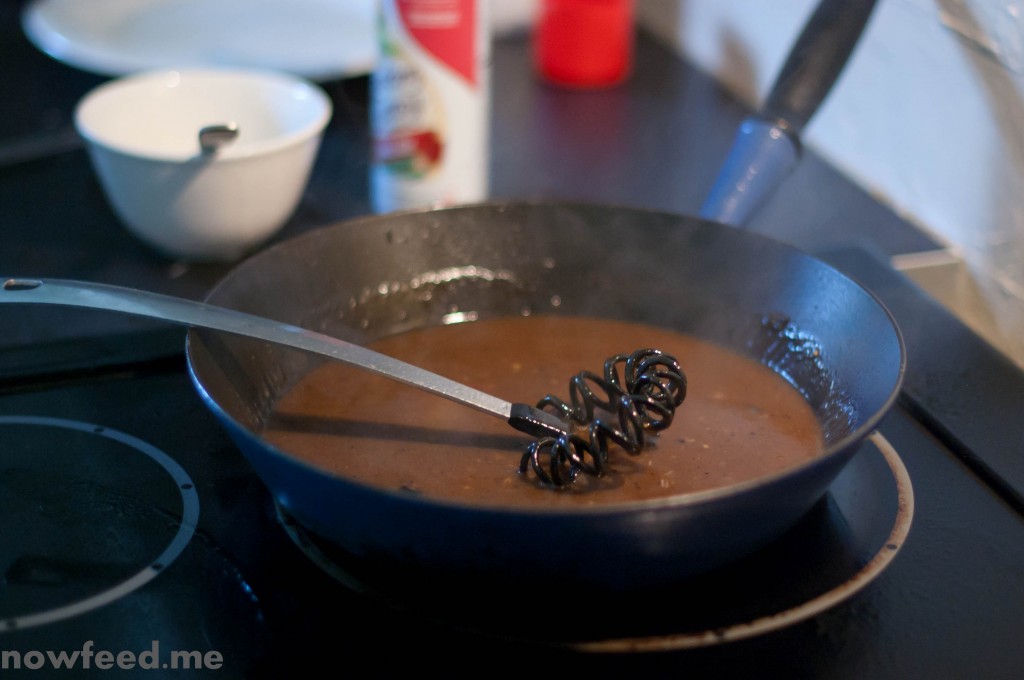
When the patties are done remove them from the pan and deglaze the pan with a little beef broth, then pour the rest in. Add one or two dashes of Worcestershire sauce and let the sauce reduce for a few minutes, until almost reduced by half.

Loco moco gravy

Loco moco gravy

Mix the flour with a few tablespoons of water and slowly add about a tablespoon or two at a time and mix well allowing the sauce to thicken. When it is the consistency of gravy that you like simmer the sauce for a few more minutes to cook out the taste of the flour. If you want to get fancy add a tablespoon of butter at the very end and mix it in well to give the gravy a little sheen, like in the restaurants.

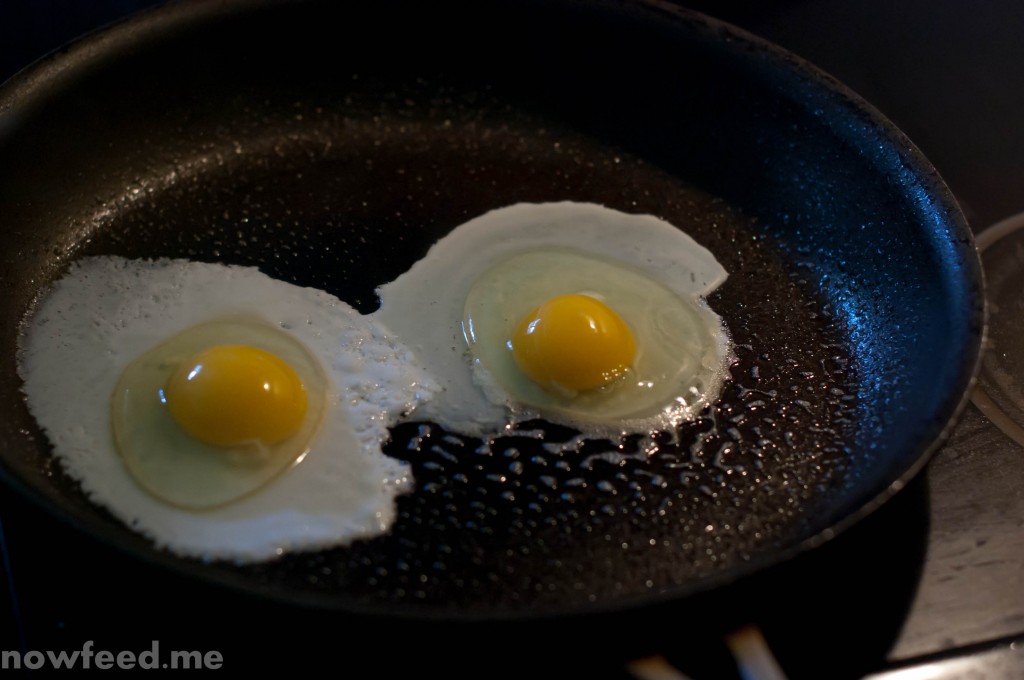
Usually right around when the patties are done I begin to cook the eggs in a separate pan, sunny side up allowing for one egg per dish. Cook them low and slow so they stay soft as you want the yolk to ooze all over when you break it.

Eggs sunny side up

Eggs sunny side up, low and slow

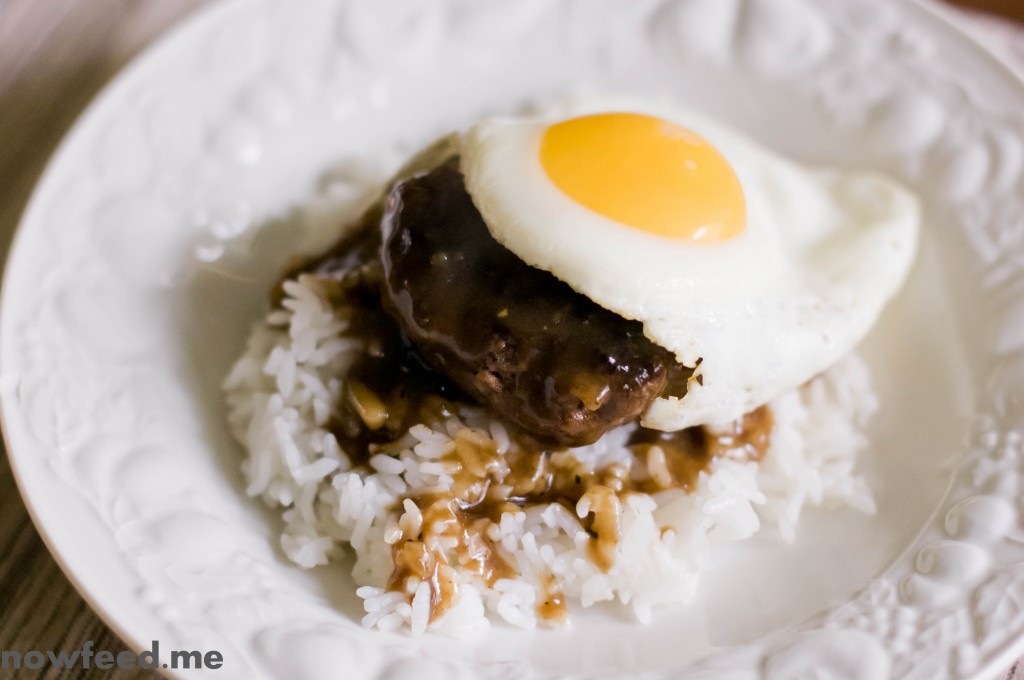
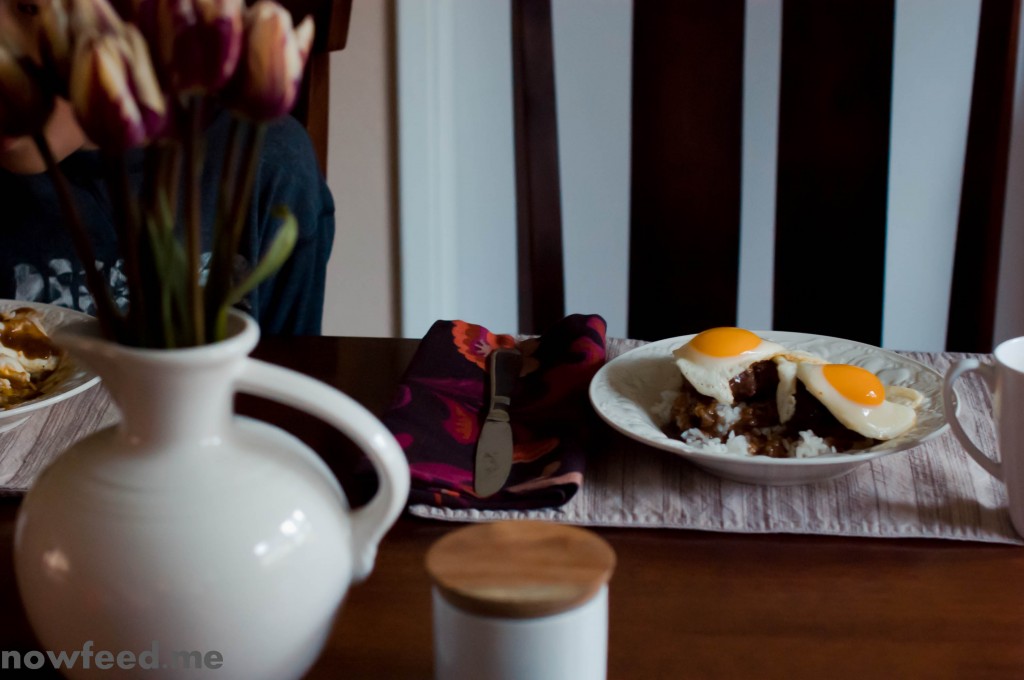
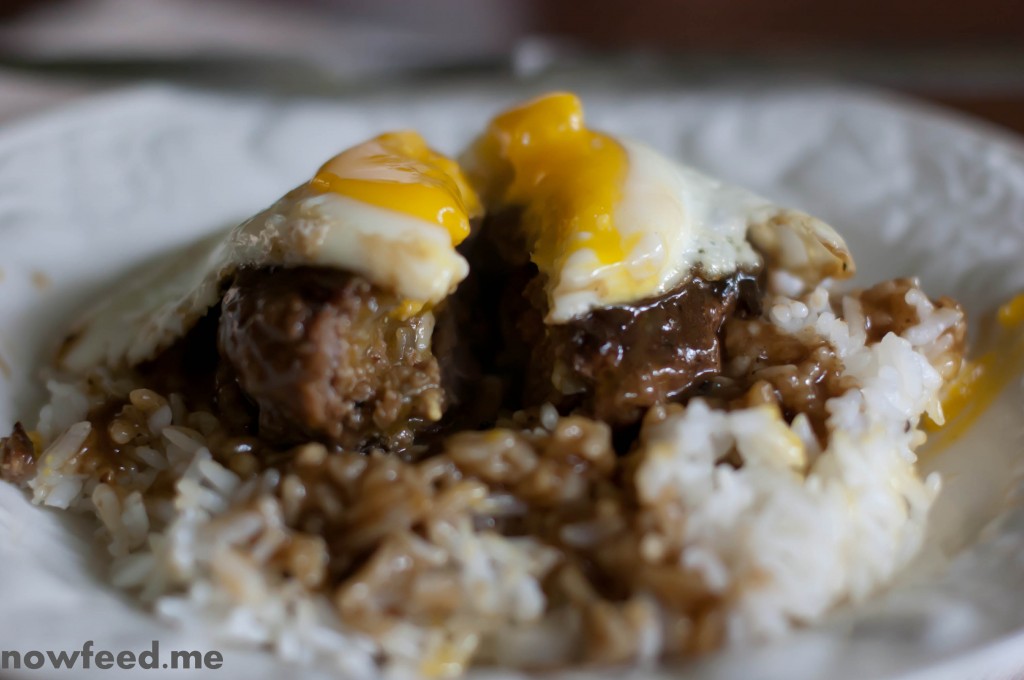
When the patties, gravy, and eggs are done it’s time to build the loco moco. Put one or two scoops of rice in a dish or bowl, place a pattie in the middle, ladle some gravy over the beef and a little over the rice, then place the egg on top. Dig in!

Building the Loco Moco

Building the Loco Moco

Hungry man’s alteration: Use a little more beef and a few extra eggs to make an extra beef patty and egg per dish.

Double Loco Moco

Double Loco Moco.

Cooking tips:

You will need two frying pans for this dish so have them both ready. Preheat the pan you use for the eggs (on about 4 1/2 – 5 on my electric stove) for a couple of minutes right before you take the patties out of their pan so you have time to cook the eggs low and slow.

Remove the ground beef from the refrigerator about 15-20 minutes before you begin to bring it closer to room temperature. Besides making it a little to form the patties the beef will cook faster and more evenly in the pan. Using cold meat will make for longer cooking times and a less juicy patty.

Make use of your oven to keep patties and eggs warm. This is something I always do when food finish cooking at different times. Set your oven to the warm setting, if it has one, or around 160 degrees Fahrenheit. Place the patties in the oven on a plate when they are done, and do the same with the sunny side up eggs as well. Don’t crowd the eggs in the pan or the whites will cook into each other. Cook fewer eggs at a time to keep them separate, but keep the cooked eggs warm until you are ready to plate.

Gluten-free variation:

In place of flour use a gluten-free flour mix – which I did the day I made this for breakfast – or other thickener such as corn starch, arrow root, etc. I prefer flour myself.

Use Lea & Perrins Worcestershire sauce which is gluten-free in the United States, or any other brand labelled as gluten-free. My understanding is that the Canadian and British versions are not gluten-free.

Asian Style Pork Ribs – gluten-free

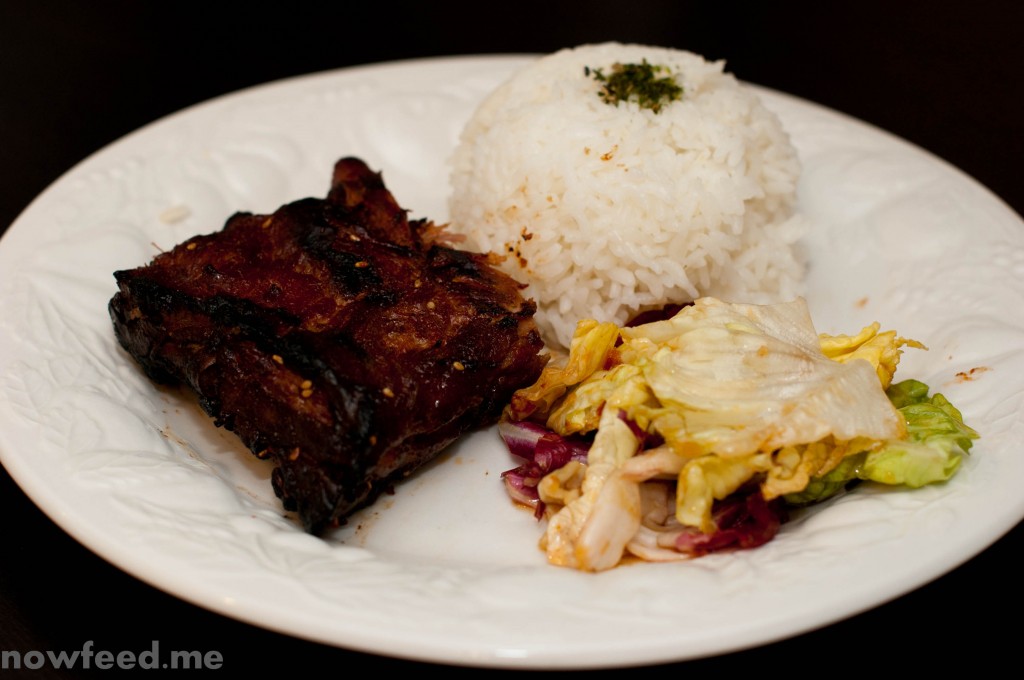
Asian style pork ribs

Asian style pork ribs

About a week ago I went to the market looking for cuts of beef to cook some steaks and was shocked at the prices, even for the cuts that I would not consider very good for steak. Seeing that pork on the other hand was much more affordable my taste quickly changed to craving pork instead of beef. Funny how that works. I picked up a 5 lb tray of pork ribs, put half in the freezer, and made the other half for dinner. I don’t really follow any recipes and sort of throw things together but here is my best recollection of what I did. I think I first learned how to make this from theallamericanchinesecookbook.com and simply made some minor changes to suit my taste.

Pork ribs 2-3 lbs
Garlic 4-5 cloves minced
Ginger 1″ minced
Green onions 2 sliced
Gluten-free tamari 1 cup
Dry sherry or Chinese cooking wine 1/4 cup
Sesame oil 1/8 cup
Ketchup 1/4 cup
Chili pepper flakes 1 tsp or to taste
Brown sugar 1 Tbsp
Toasted sesame seeds 1 tsp

Put all ingredients except the pork in a 1 gallon ziploc bag. Seal the bag and shake vigorously from side to side to mix it all up. Add the pork to the bag, seal, and marinate in the refrigerator for at least 4-6 hours, or overnight. Turn the bag over a couple of times a few hours apart if you remember to spread the marinade around.

Remove the bag from the fridge about 20-30 minutes before cooking to bring it to room temperature. Pre-heat the oven to 325 F. Remove the pork from the bag (or whatever you used to marinate in) and reserve the marinade in a bowl. Cover a roasting pan with foil if desired – it makes it easier to clean – and put the pork in the oven. After one hour baste the pork with some of the marinade you put aside (on both sides!) and put the pork back in the oven for another 20 minutes. Repeat the basting process, put the pork in the oven for another 20 minutes, then remove and let rest loosely tented in foil for about 15 minutes so the juices redistribute throughout the meat.

Serving suggestion: serve with rice and a quick vegetable stir fry.

Enjoy.

Note: While I include the marination process here – which I am doing today – I actually skipped it the day I bought the pork as I did not have the time. I prepared the marinade as described above, rubbed the pork with salt and pepper and put it in the oven, then did 3 rounds of basting after 40 minutes of cooking for a total of 1 hour 40 minutes. I prefer to marinade when possible but it certainly was nothing to spit at and the family really liked it served with rice.

Mapo Tofu

I still remember the day my mom brought home a box of premixed sauce for tofu. I must have been around 9 because I remember cooking this dish. Mind you, almost the entire box, instructions and all were written in Japanese. The only things I could understand were the “how-to” illustrations and the words “Cook Do” on the front of the box. I made this dish, I fried the pork until it was cooked all the way through, and I added the packet of sauce and tofu to the pork and let it simmer. And boy was it delicious! I had no idea that the proper name for the dish was Mapo Tofu so from that day, I called it Cook Do and I remember eating Cook Do regularly until I moved in with my future husband who did almost all of the cooking until our son was born.

These days, I make Mapo from scratch. It’s easy enough, and I almost always have the ingredients on hand. Plus, it’s become comfort food for my family. My son spent an entire month in New York with his grandmother last summer. When I flew over to pick him up, one of the first things he asked was if I would cook Mapo Tofu for him. Before that moment, I never thought that the foods I cooked for my children would become something they would want to come home to.

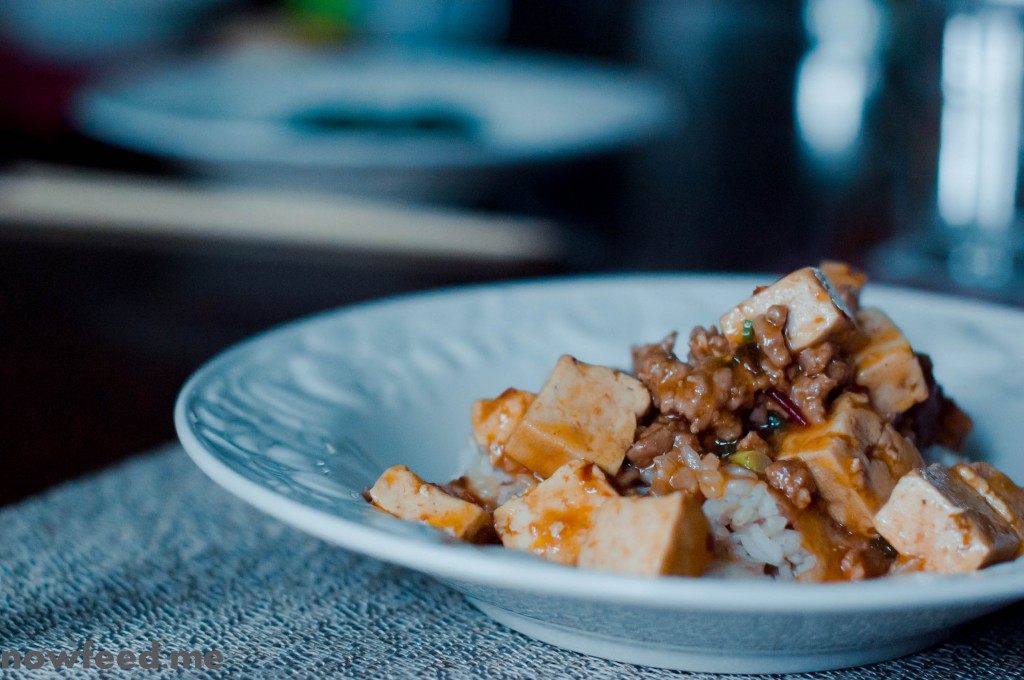
Mapo Tofu

2 garlic cloves minced
1 inch piece of ginger grated
1 lb. ground pork (be sure there’s no saline solution)
3 spring onions
2 T hot bean paste (we use Yeo’s brand, see notes)
2 T shoyu or tamari
1 T oyster sauce
1 block of firm tofu
1 T cornstarch
2 T rice wine vinegar
3/4 cup of water
1 T canola or peanut oil

Heat the oil over medium high heat in a wok or frying pan. Add the garlic, and ginger and cook until fragrant (less than 30 seconds). Be sure not to brown the garlic and ginger. Add the ground pork and stir fry until the pork is cooked through and is no longer pink. Add half of the spring onions, the three sauces, all of water and tofu. Bring to a boil then reduce heat to low and simmer for 10 minutes. Mix cornstarch and rice wine vinegar, add to pan, raise the heat and bring to a boil stirring gently until the sauce thickens. Add the remaining spring onions to the pan. Serve over hot rice. Enjoy.

Notes: Yeo’s hot bean paste is one of the milder pastes we’ve used. Different brands of hot bean paste have varying levels of heat so you may have to adjust your measurements accordingly.